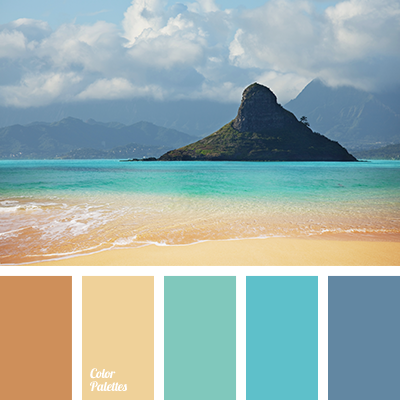
Welcome to part two of the AECP Challenge. You can find part one here. This was indeed a challenge and I suppose that is the whole point of a program like this. To challenge ourselves on more than just a creative level. The hardest part for me, quite honestly, is the sitting down and writing. To somehow try put my creative process into words and show you that the joy is in the creating and not always the end result. I hope you enjoy my take on a masculine set of cards. Much like the part one set I started with a colour palette and some techniques I wanted to work with and went from there.


The 3 main techniques for this set are…
Easy Ink Blending Techniques – Once again I had to do some ink blending. I love how well the Altenew inks blend and coordinate to create wonderful end result. I reach for my inks often because I really appreciate the versatility and how much you can create with some basic quality supplies!
Boutique Cards – Classy cards with clean elegant styles work just as well for a masculine card as they do a feminine one! Going with bold colours and block type letters help make that kind of impact.
Scene Building but also mixed with some Stamp Layering – The impact of a scene on a card is one I never get bored with making or looking at. They can be simple or super complex and made with either stamps or dies or a combination of the two!
Also included: Stencils and some Die Cutting techniques – because all the techniques are fun and must be used right!!??
Card #1
Supplies For This Card
- Altenew Caps Bold Alphabet Die
- Geli Press gel plate
- Arteza Metallic Gauche Paints
- WaffleFlower A2 layering dies
- Art Glitter Glue
- Recollection Black Shimmer Cardstock
- Hammermill 80 lb cardstock
- Accent Opaque 100 lb cardstock for the A2 card base – 5 1/2″ x 4 1/4″
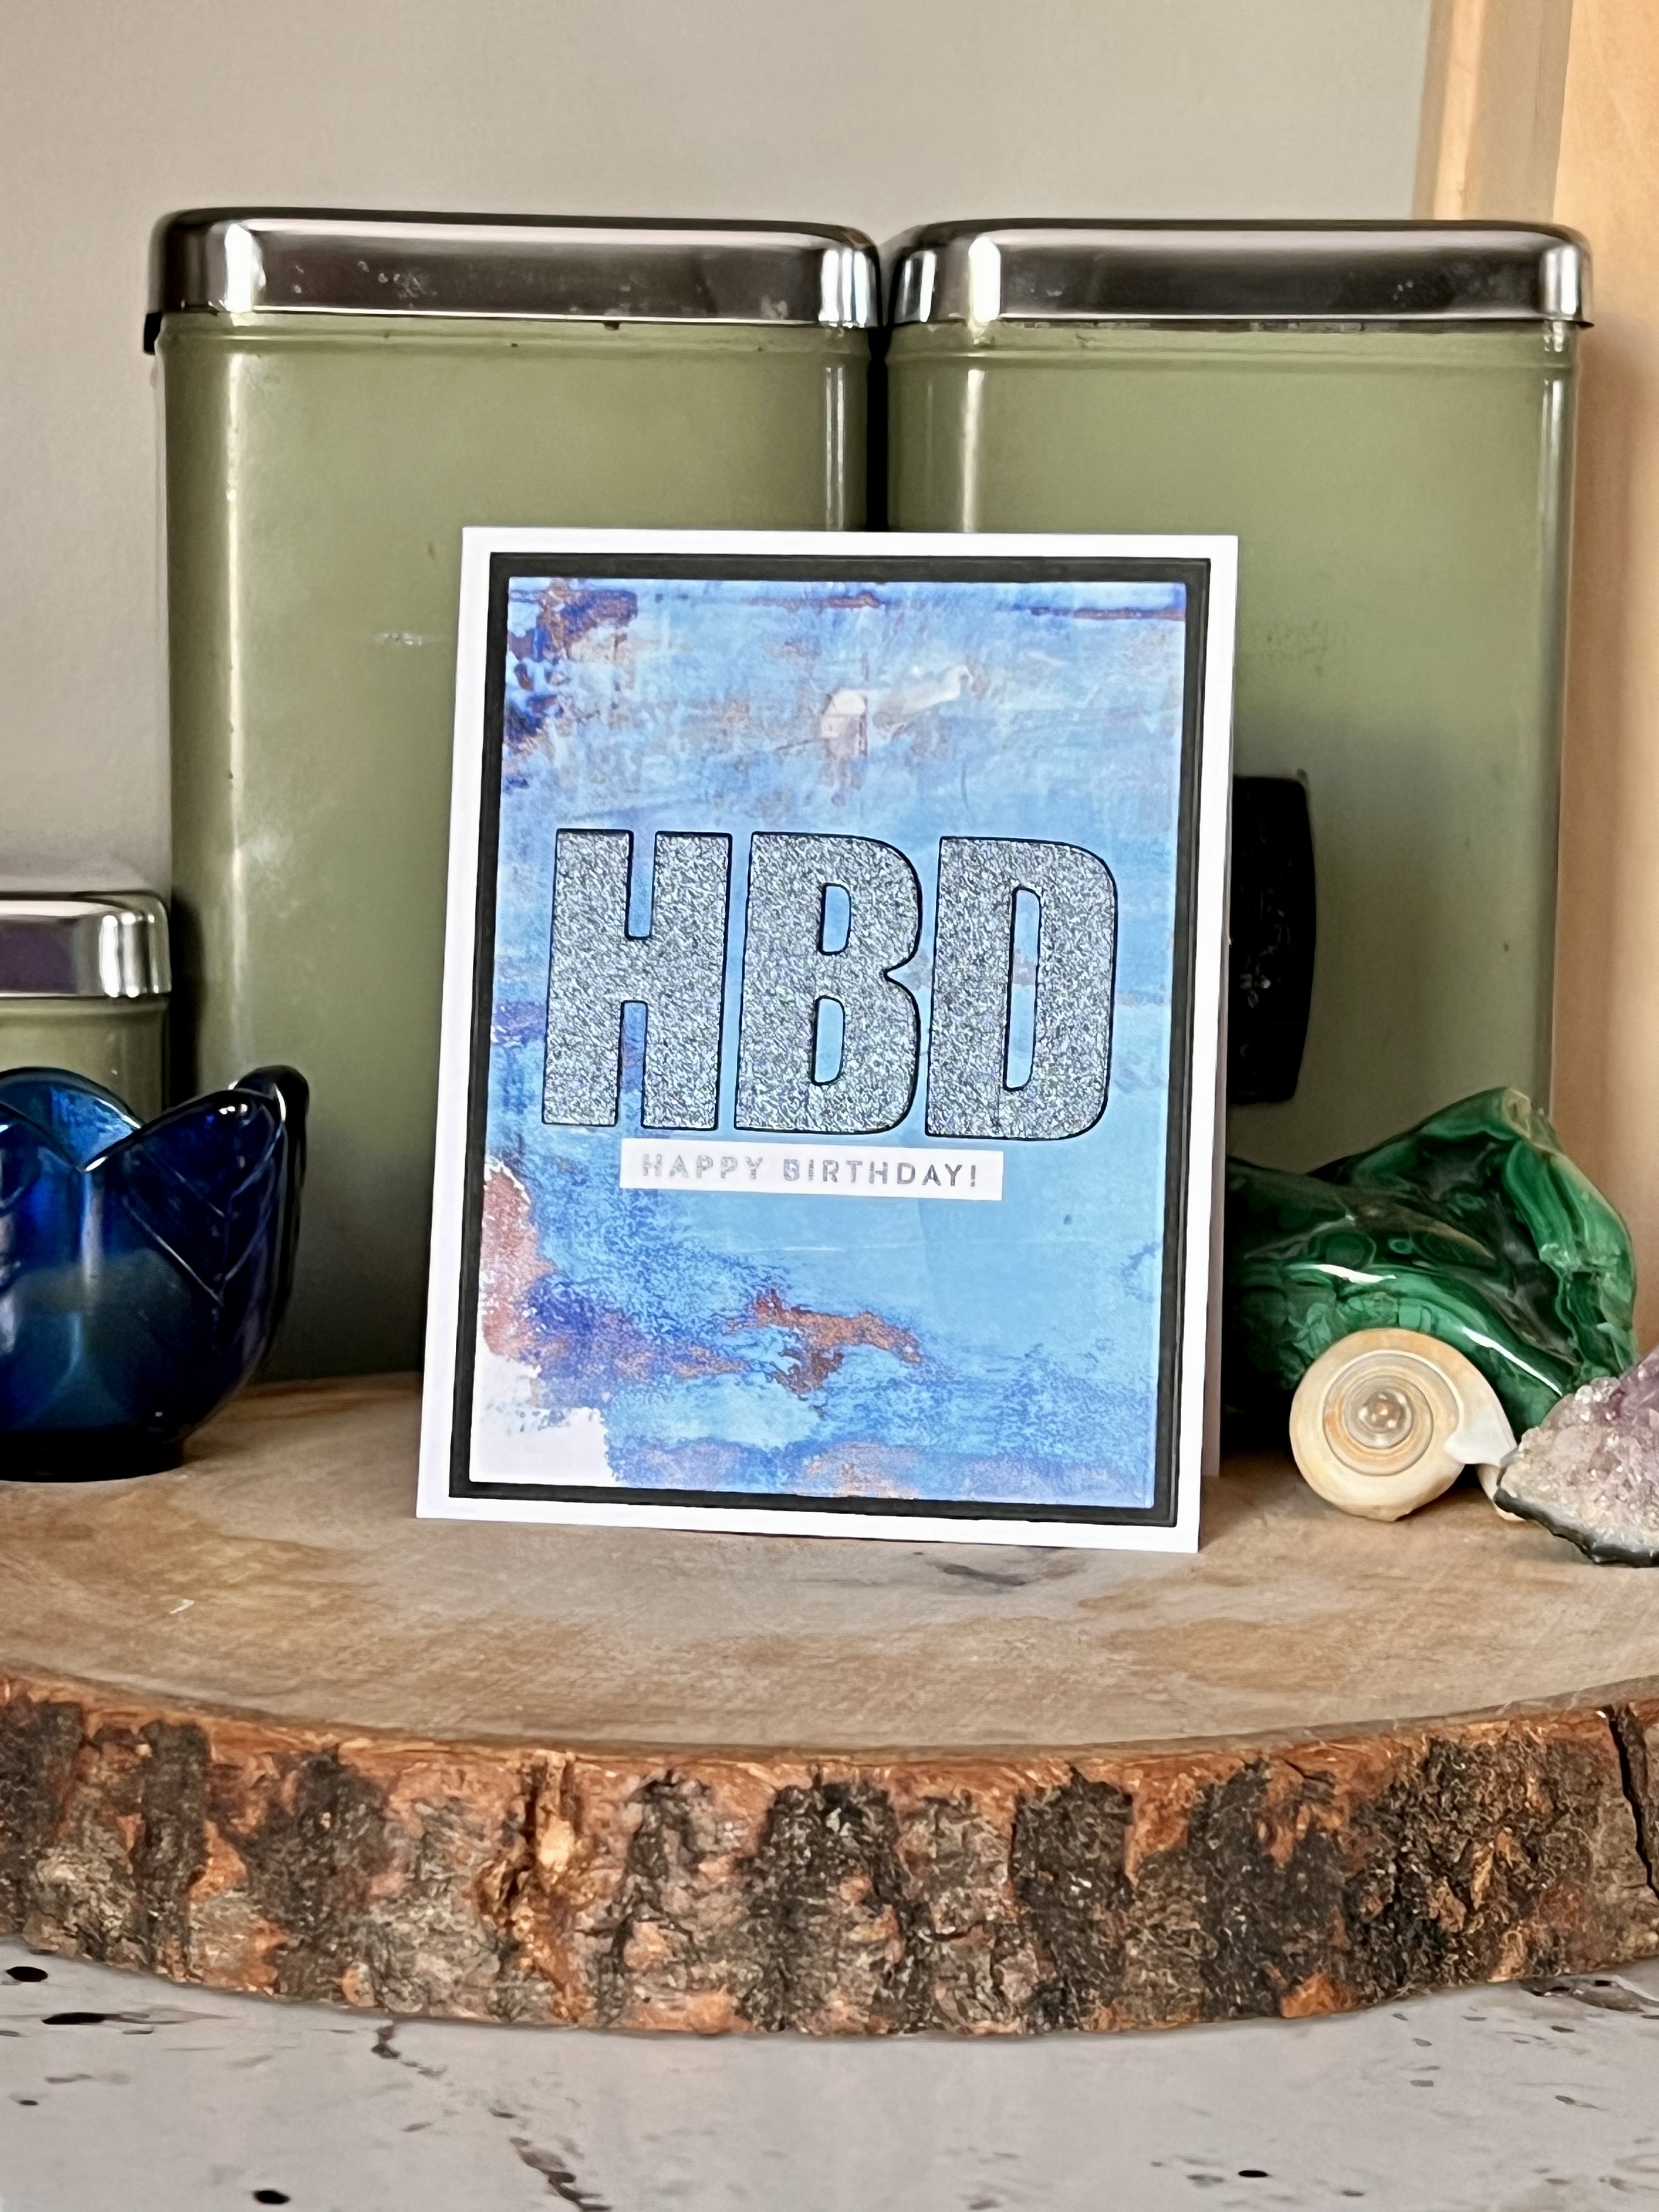
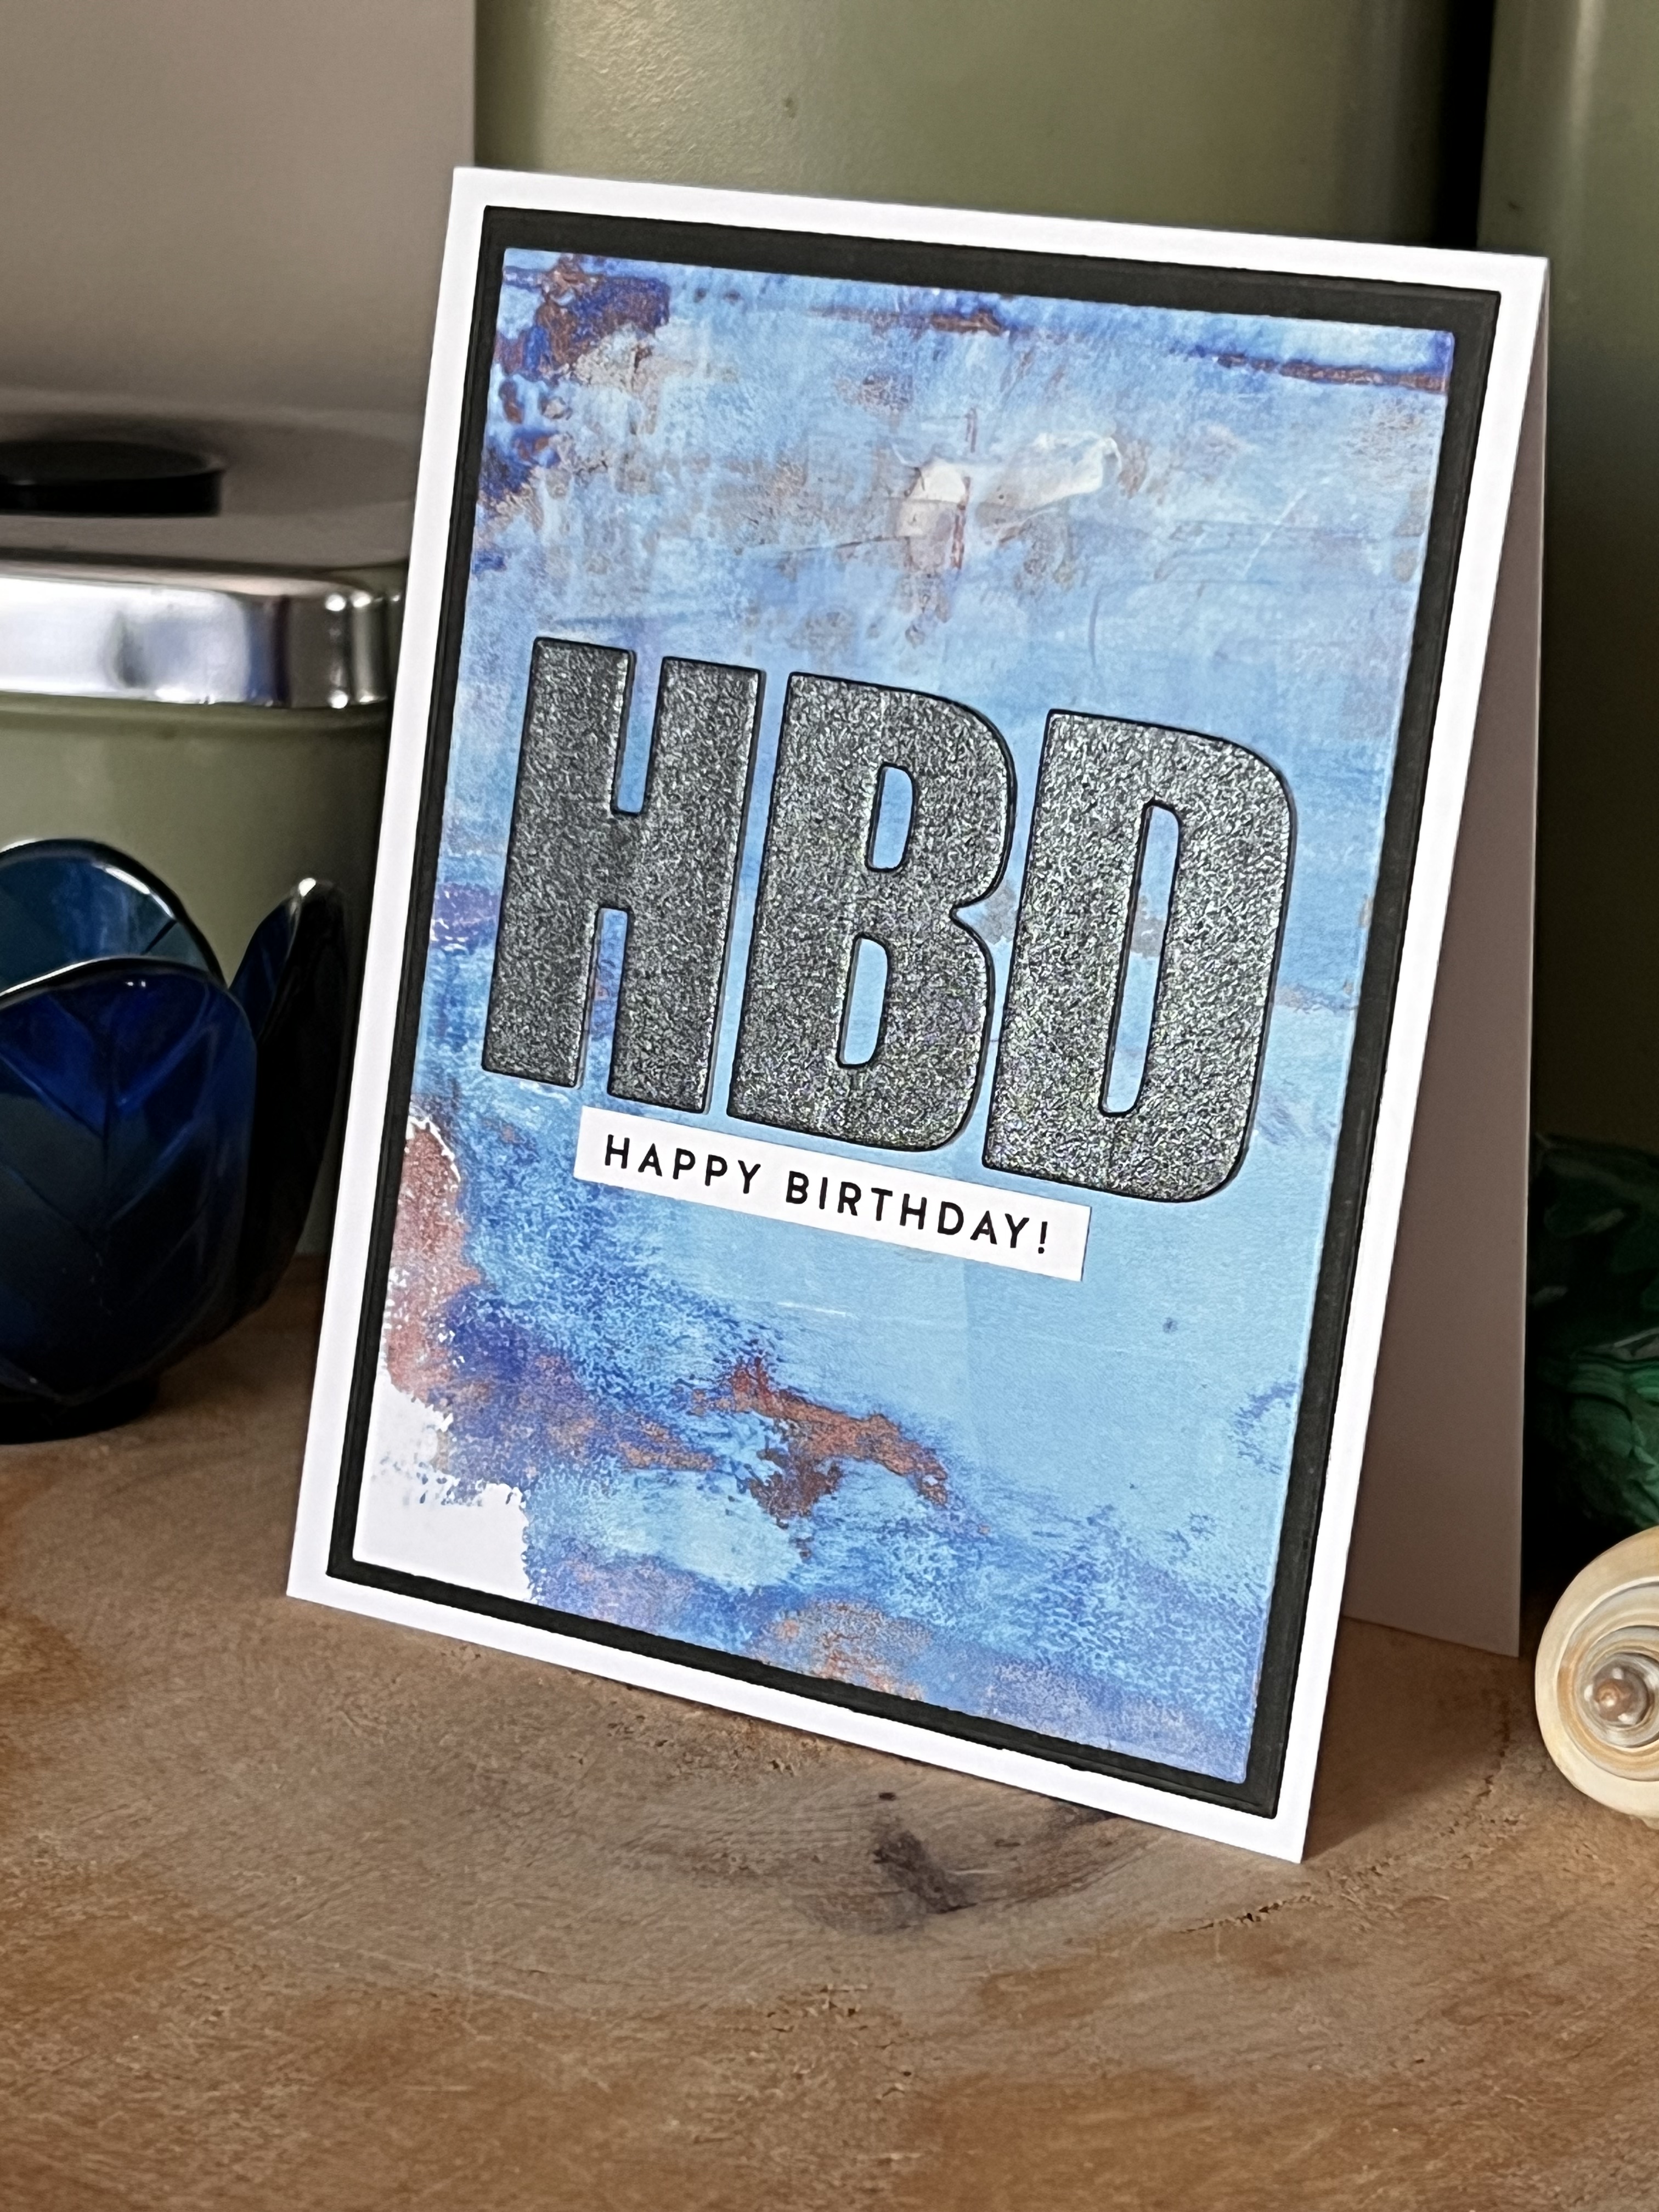
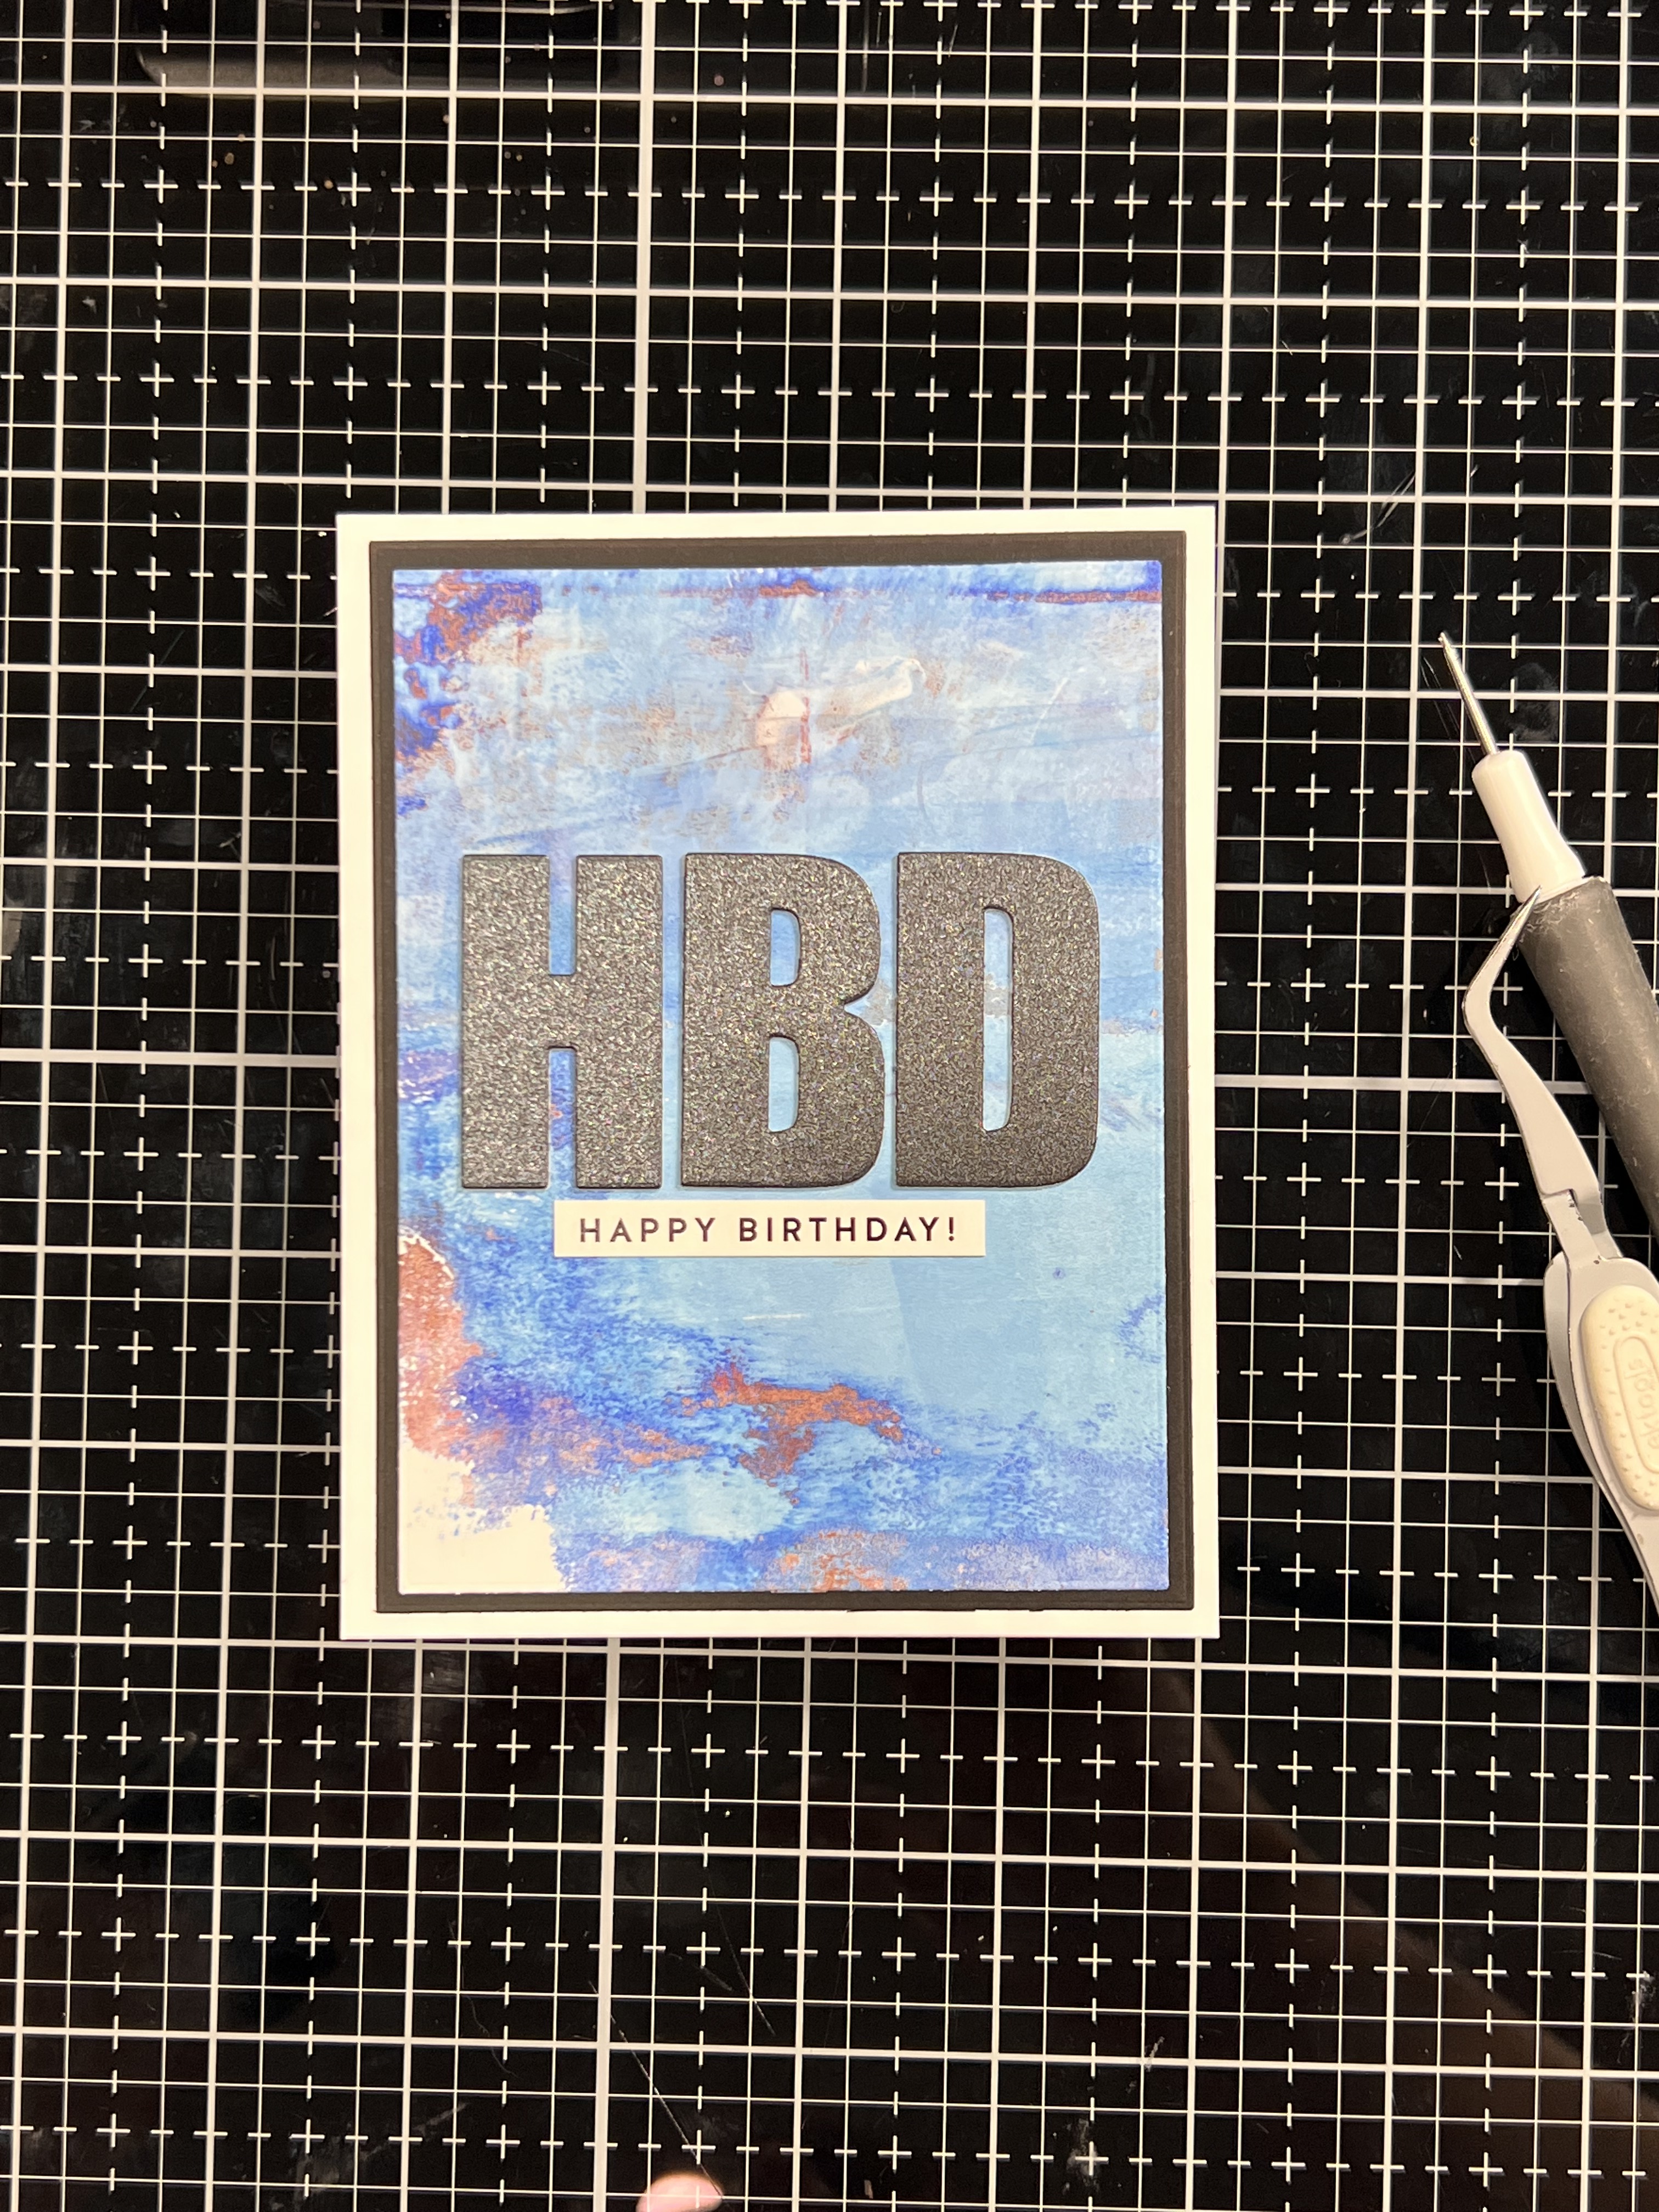
To make this A2 top fold card I started with one of my stash of gel prints.. this was part of my colour palette inspiration! I always have a stash of dozens of these, all sorted by colour of course! I cut the panel to 5” x 3 3/4” using a WaffleFlower A2 Layering set and added a black mat 1/8″ bigger. To give this card the boutique feel that I was aiming for, I die cut the letters from the black shimmer cardstock and layered it up with scrap cardstock (recycling paper this way) to create dimension. This was attached it to the card with Art Glitter Glue liquid adhesive. I added a small sub sentiment to tie in the black and white matting!
Card #2

Supplies For This Card
- Altenew Spectacular Adventures Layering Set
- Altenew Say Yes stamp
- Altenew inks
- Altenew Gold Embossing Powder
- Neenah Classic Crest Solar White 80lb cardstock
- Waffleflower A2 Layering dies
- Accent Opaque 100lb cover
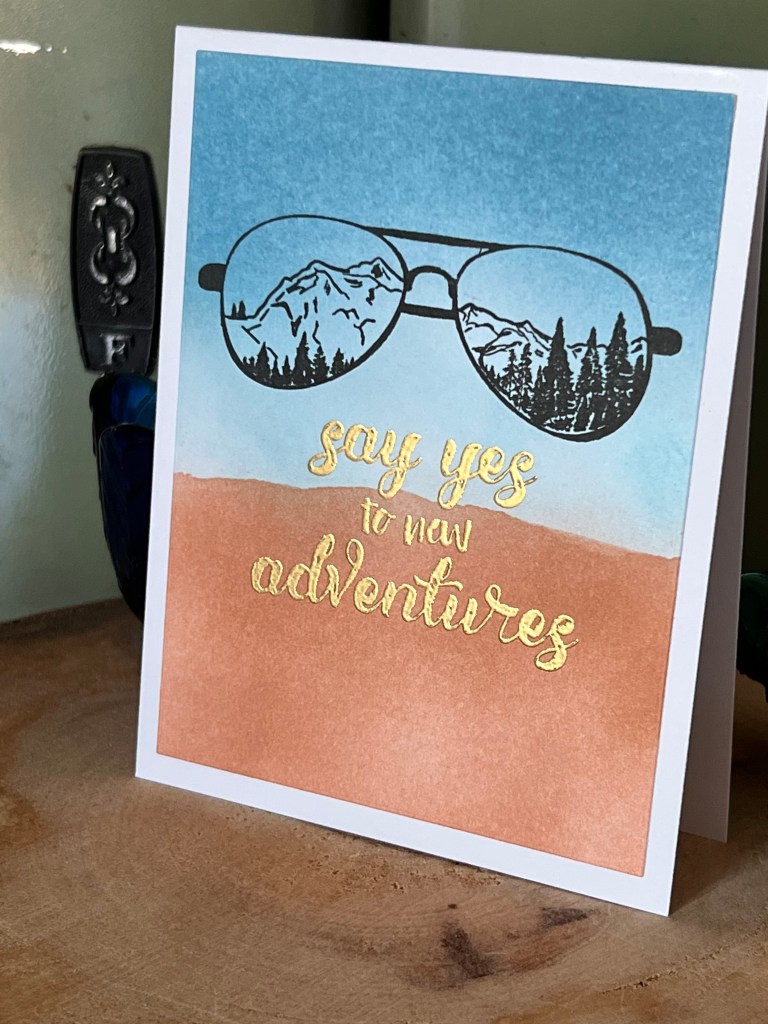
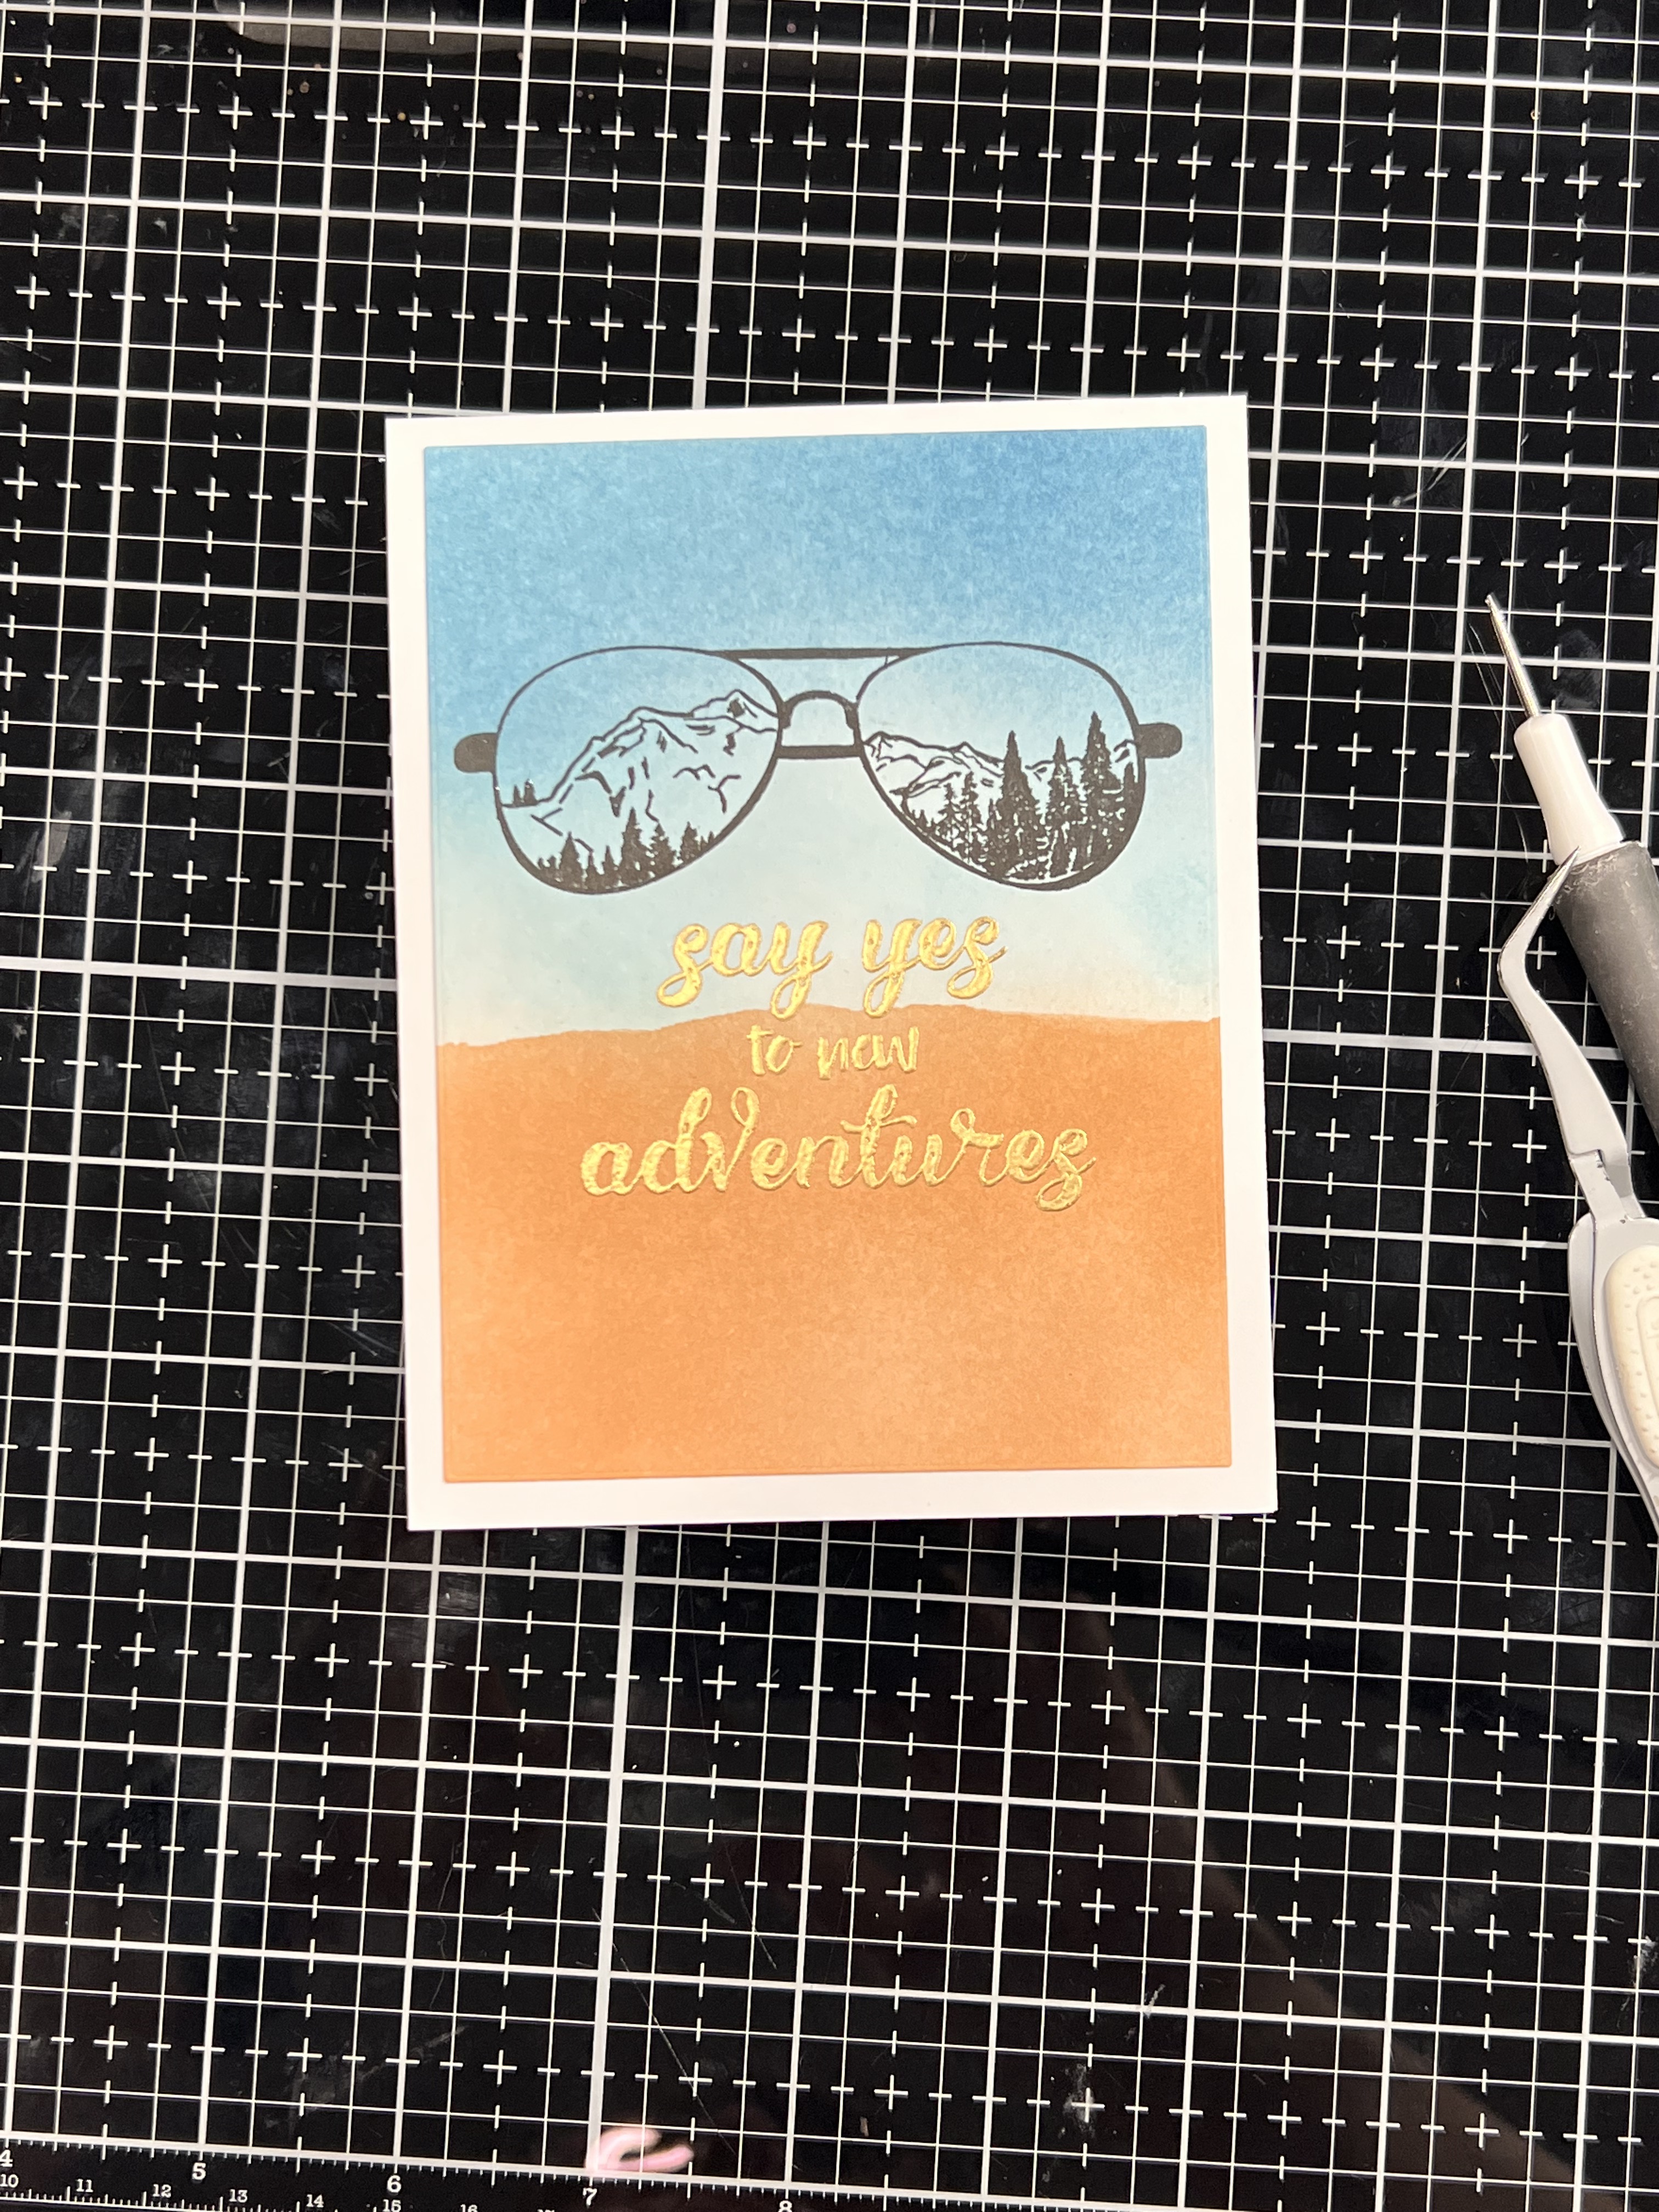
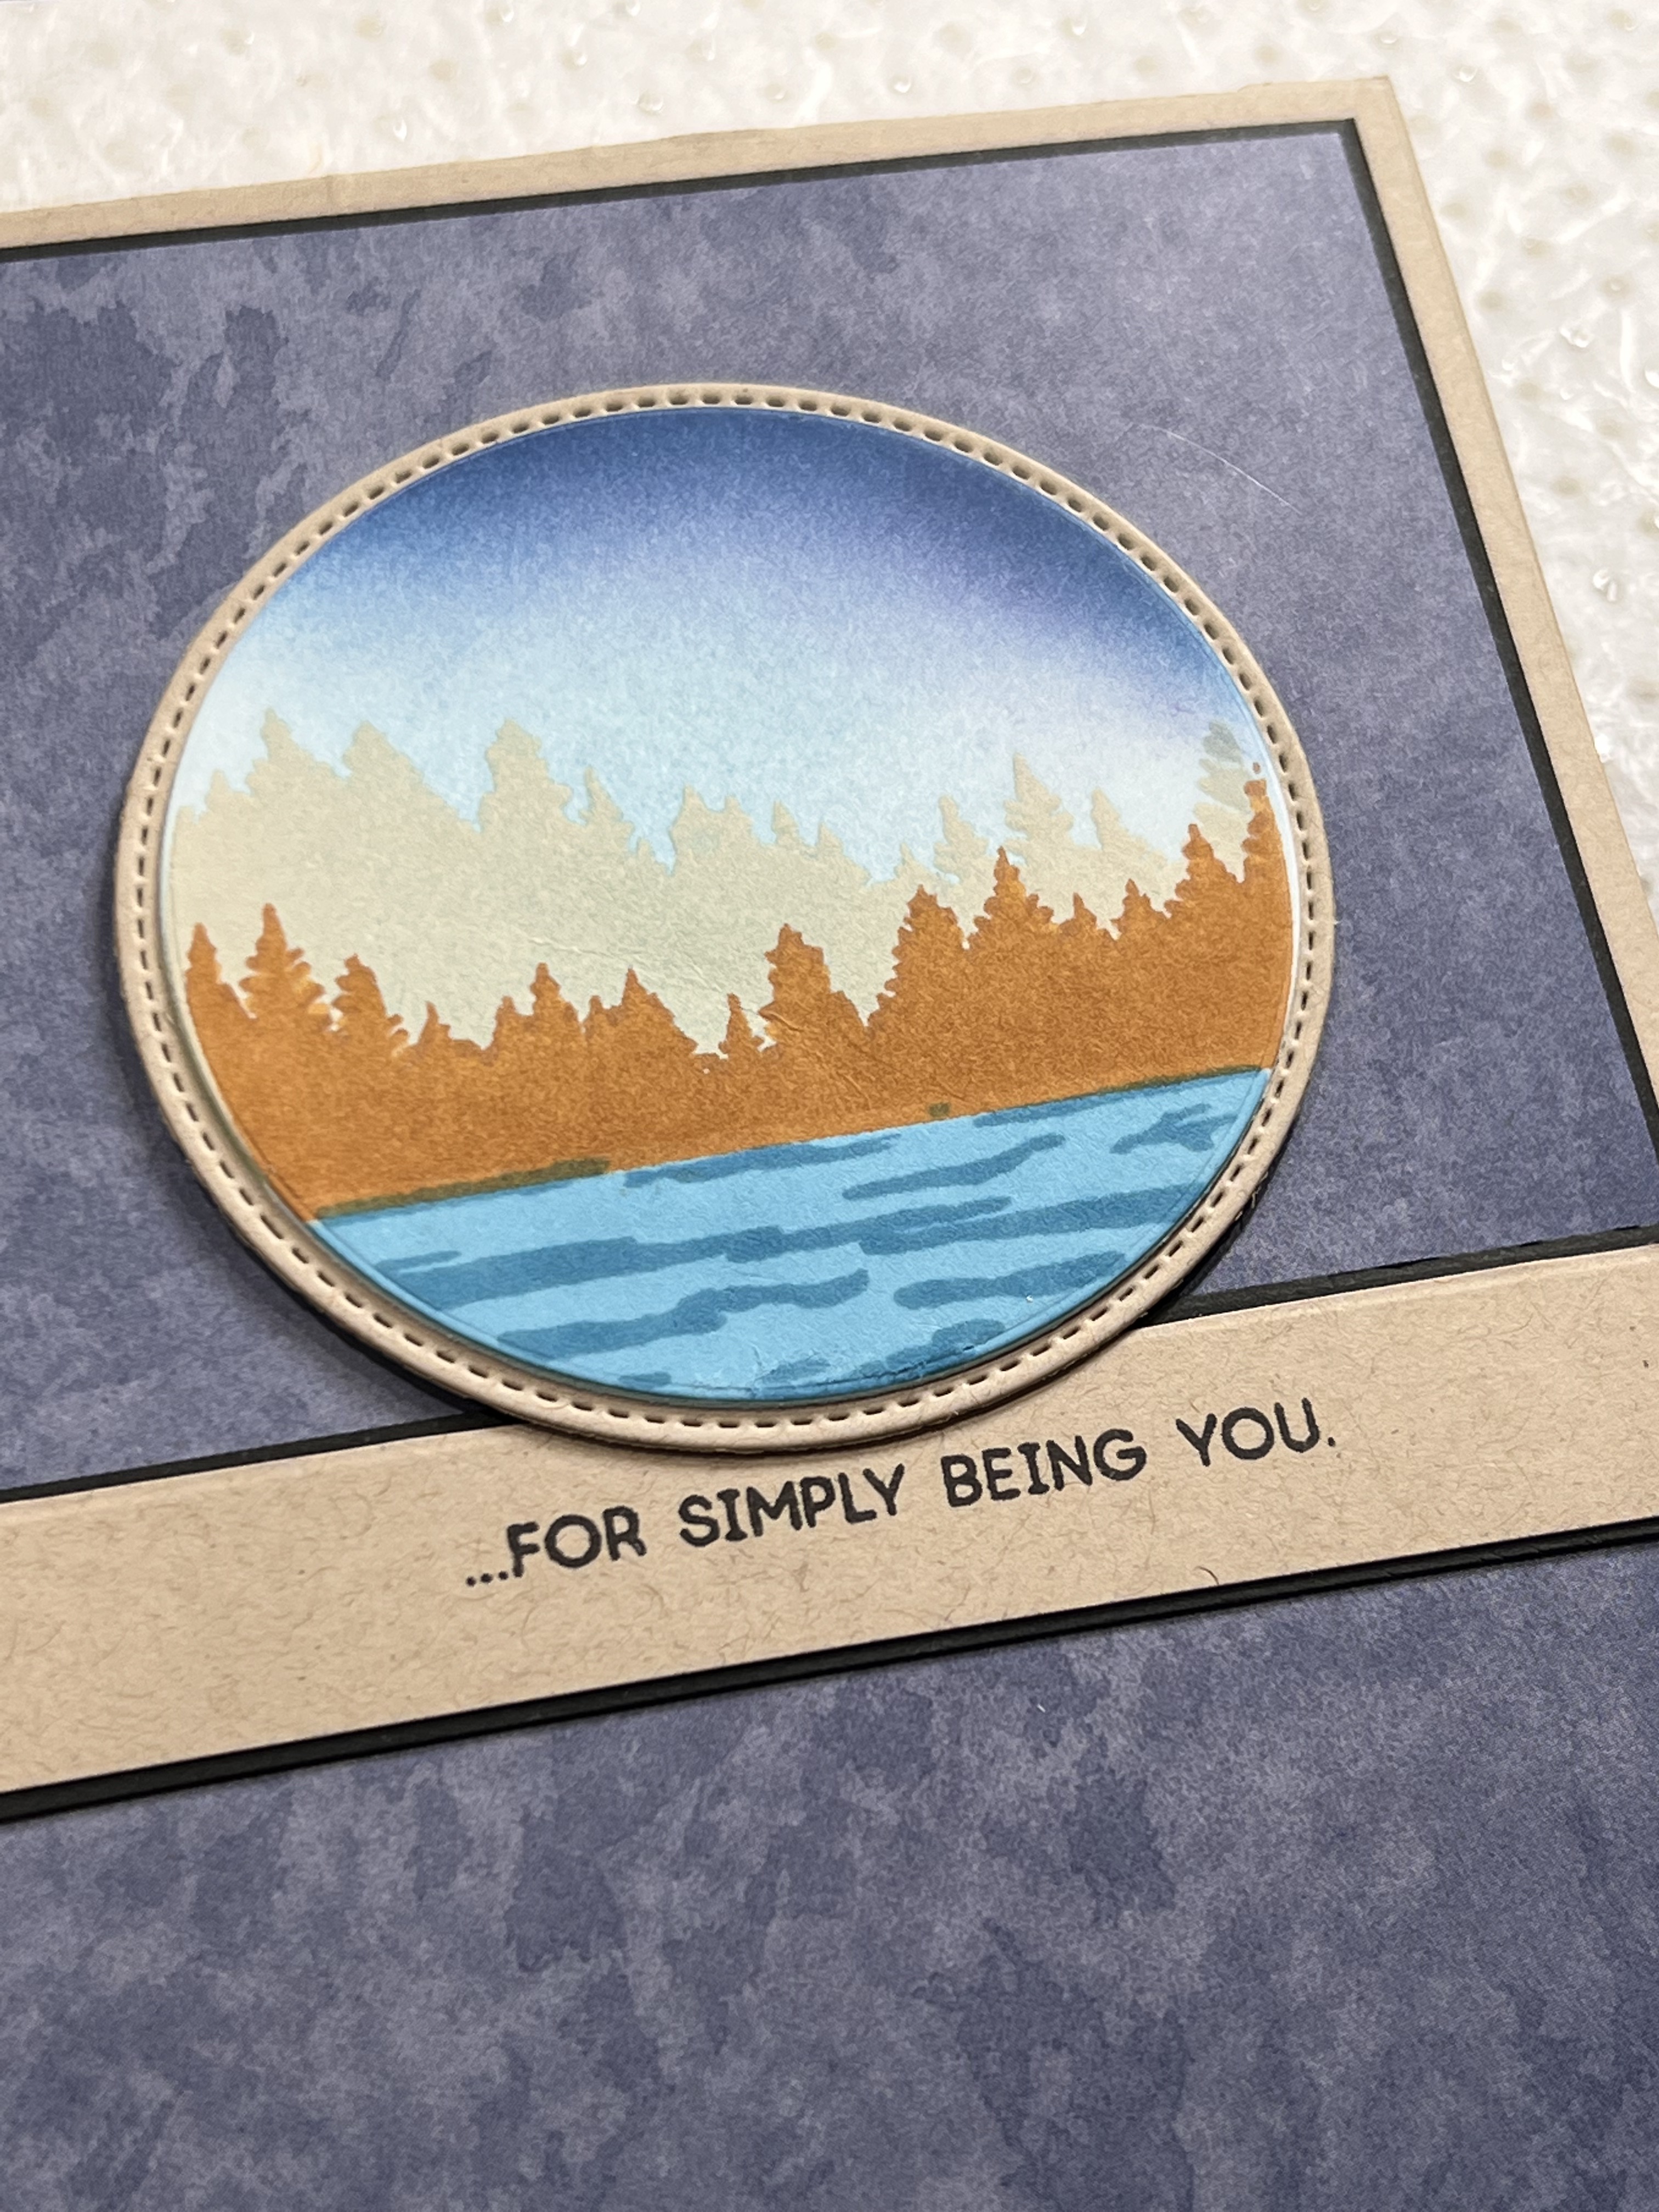
An A2 top folding card is my go to for this card away. The front panel is a 4 7/8″ x 5 1/8″ piece of Neenah Classic Crest Solar White in an 80lb weight. Using the above palette of colours, I blended the sky in the blues using a torn edge of paper to mask off the bottom part of the card. Switching pieces I masked the top part and did splotchy blend to mimic the look of a natural surface. Once that dried I used the layering stamp with Jet black in to stamp the focal point. The sentiment was heat embossed with gold to tie it all into theme.
Card #3
Supplies For This Card
- Altenew Modern Circles Stencil
- Altenew inks
- Altenew Caps Bold Die Set
- Altenew Satin Gold and White Sequins
- Ranger flat gold discs
- Waffleflower Media Mat
- Waffleflower A2 Layering dies
- Recollection Black Simmer Cardstock
- Accent Opaque 100lb Cardstock
- Neenah Solar White Classic Crest 80lb Cardstock
- Altenew Ultra Sticky 1/4″ double sided adhesive tape
- Art Glitter Glue liquid adhesive
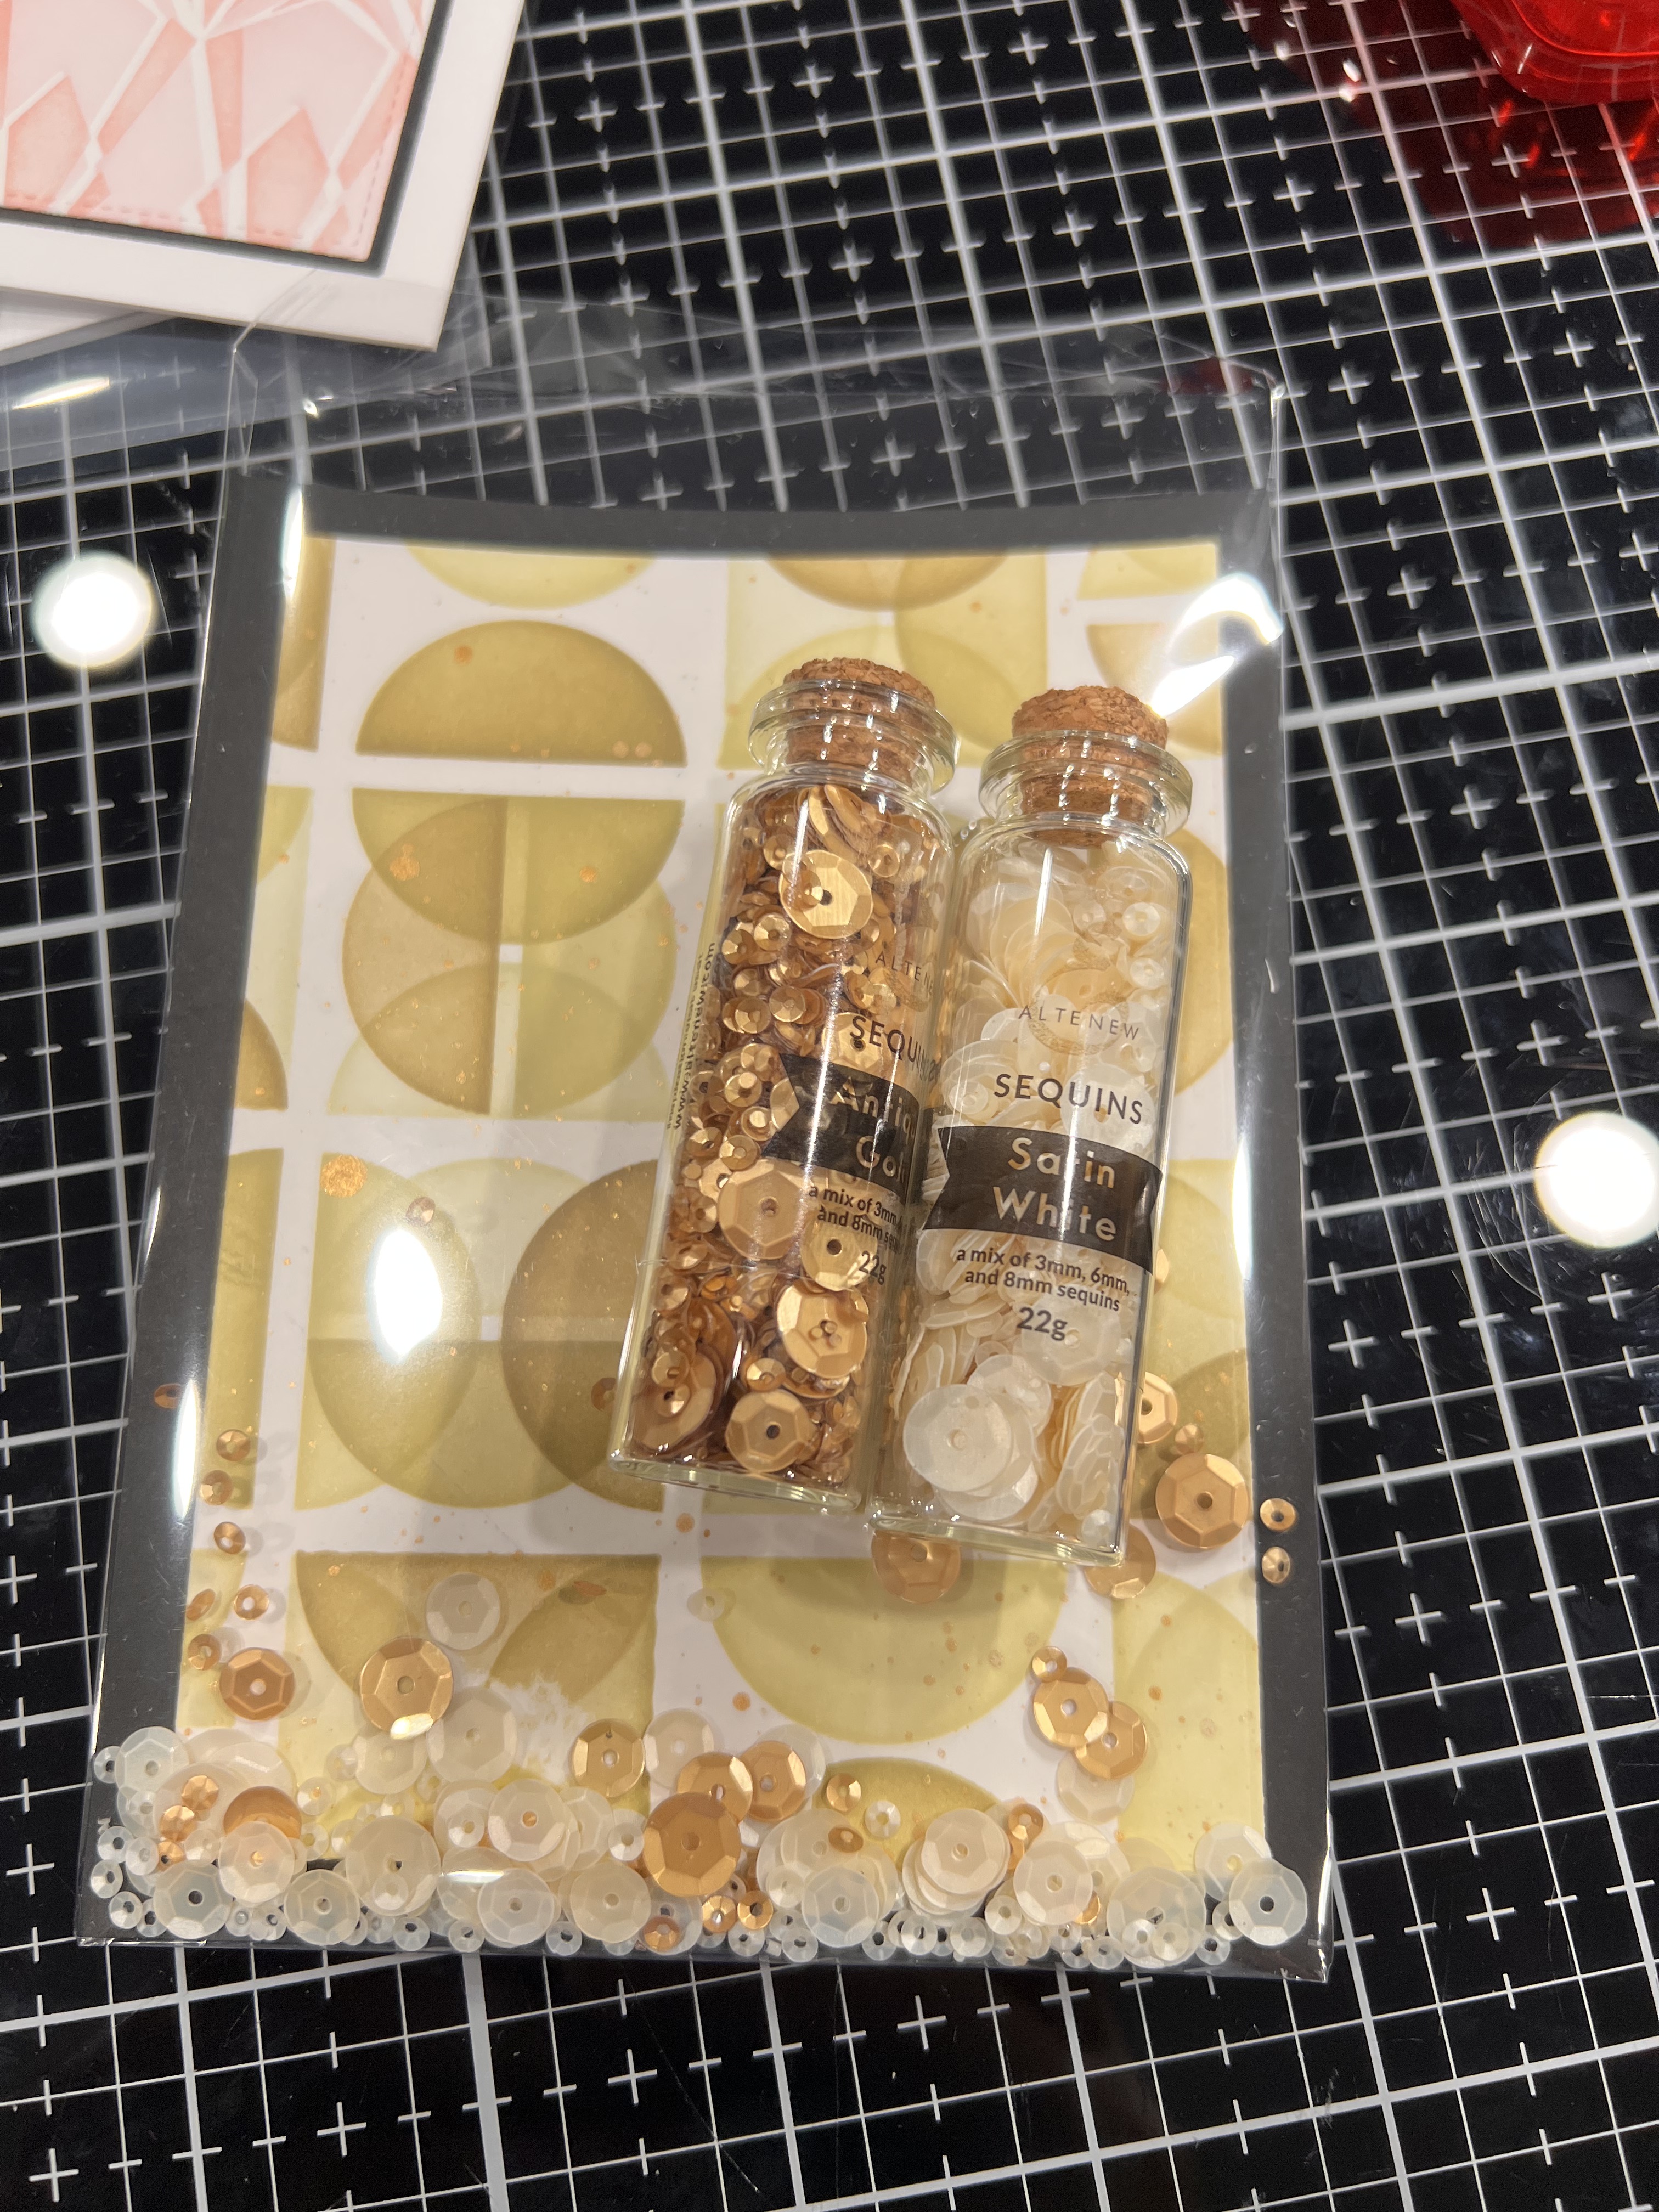
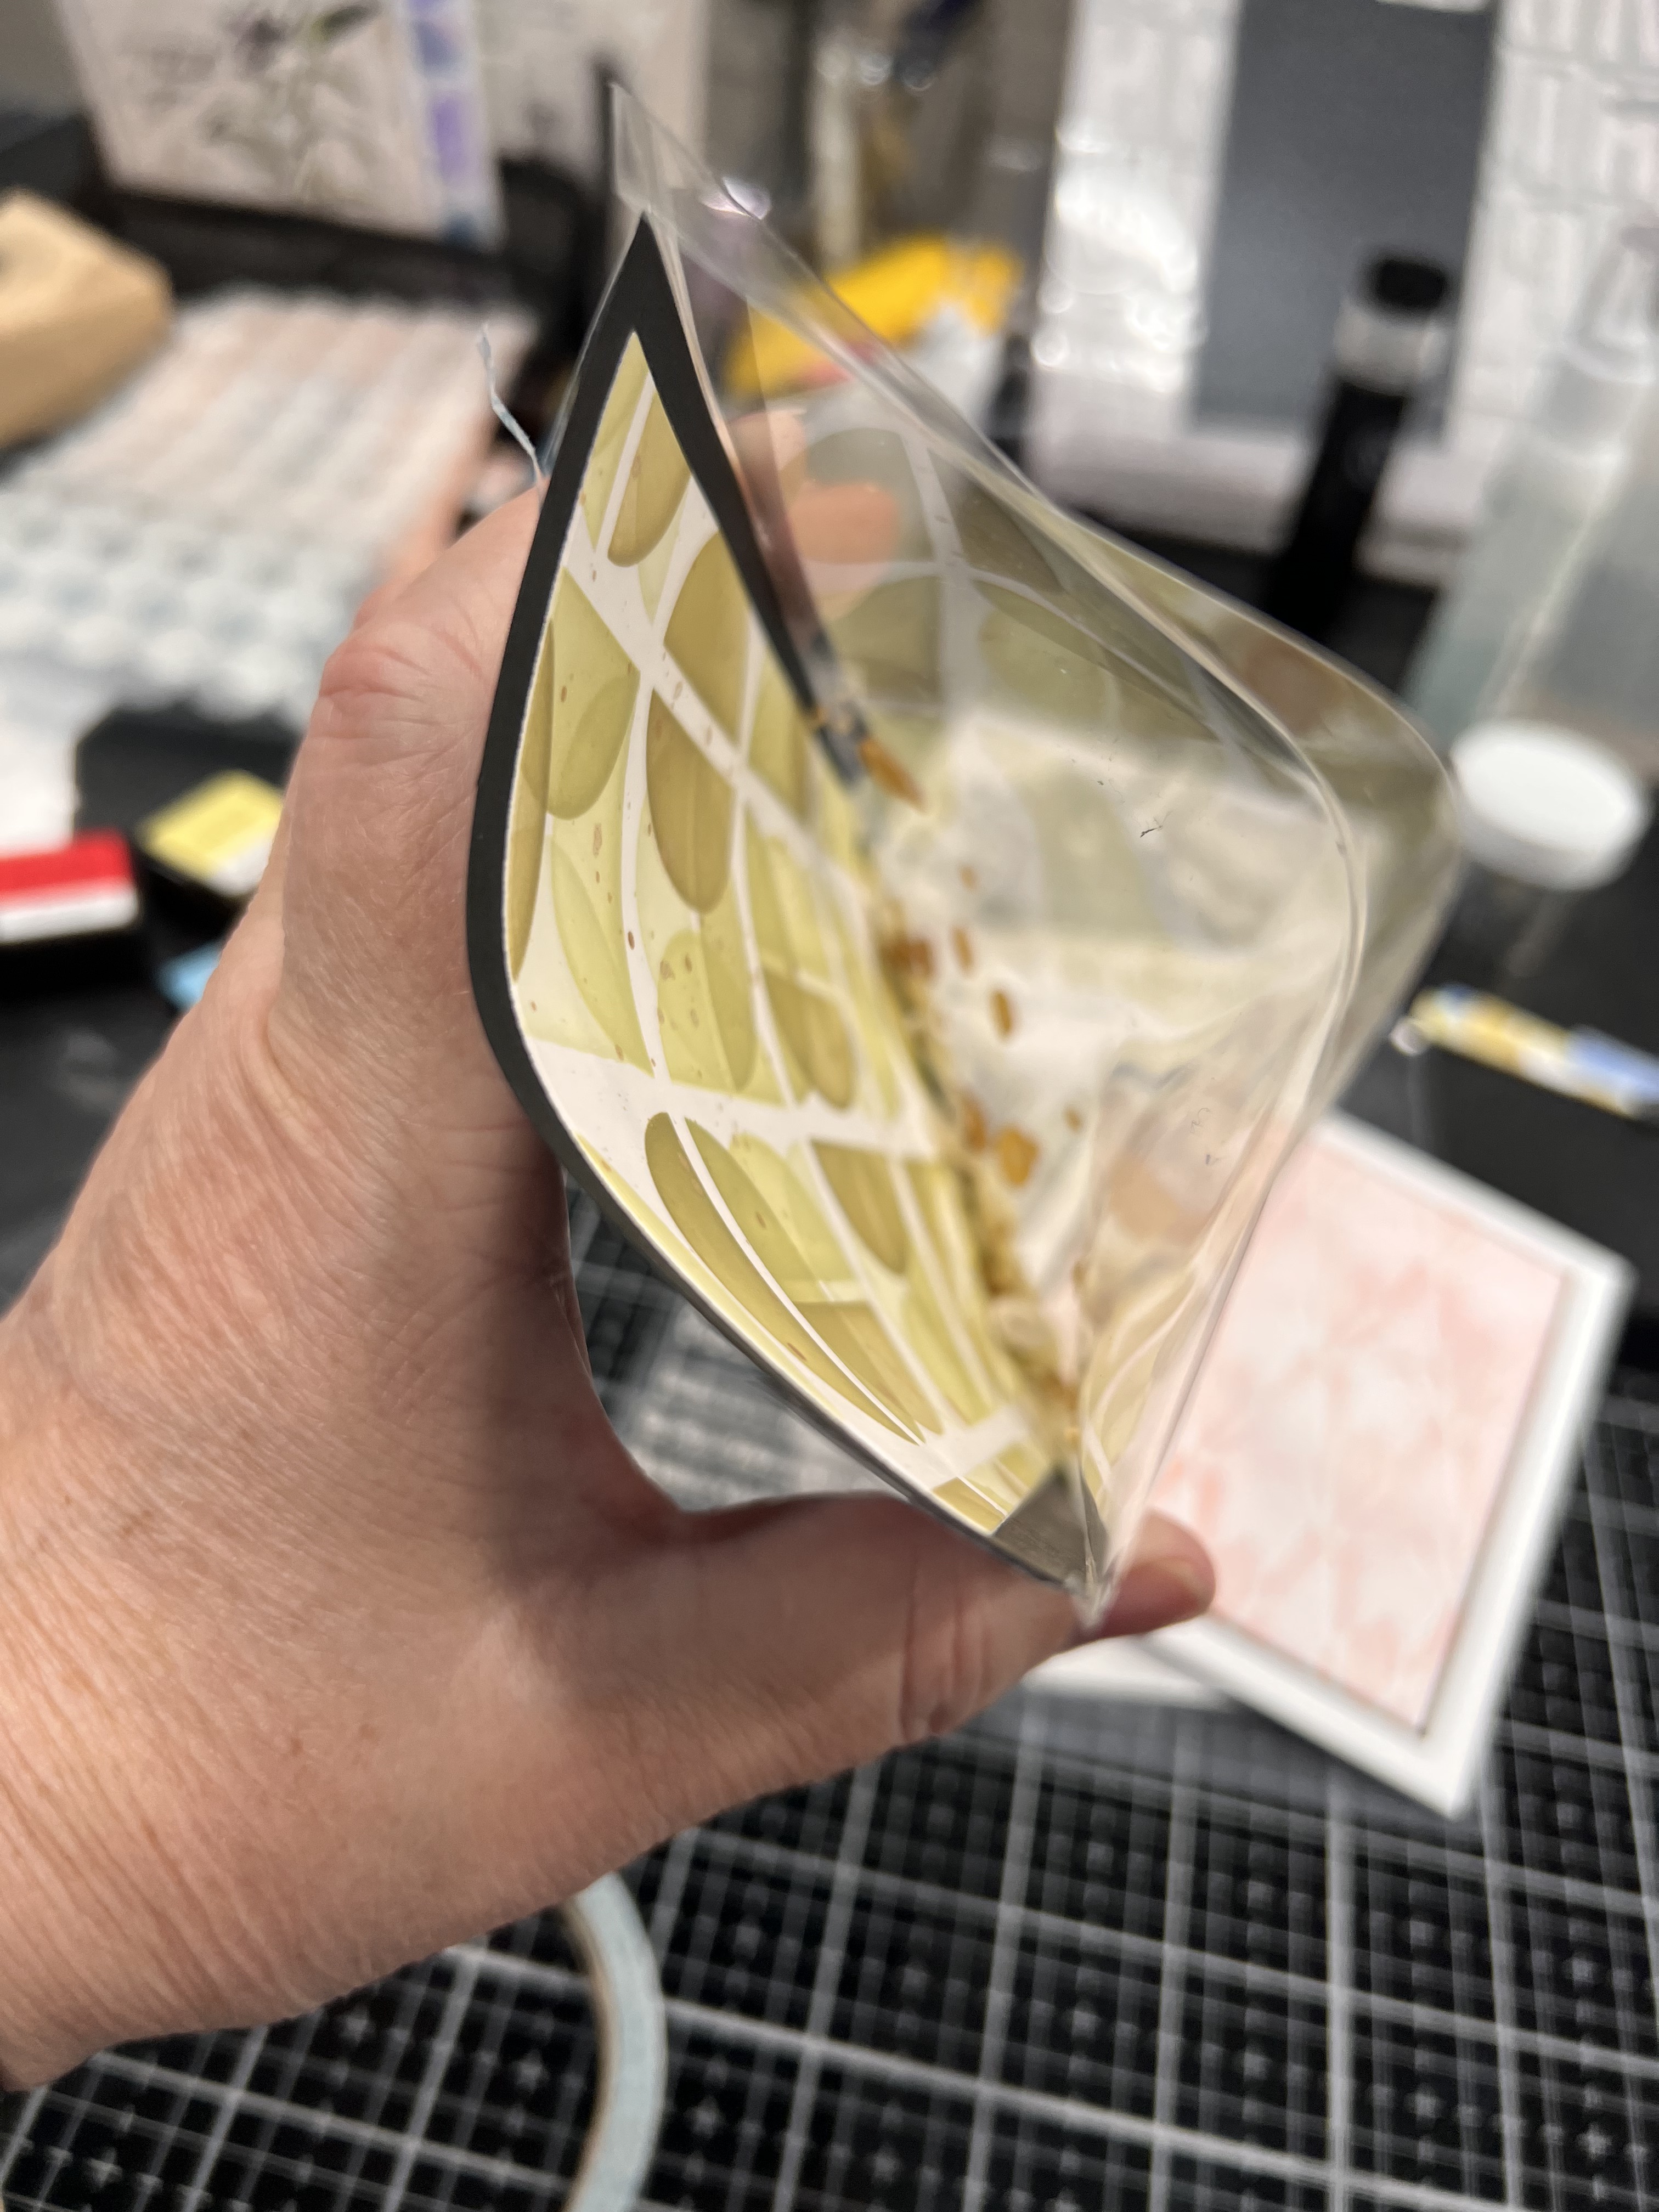
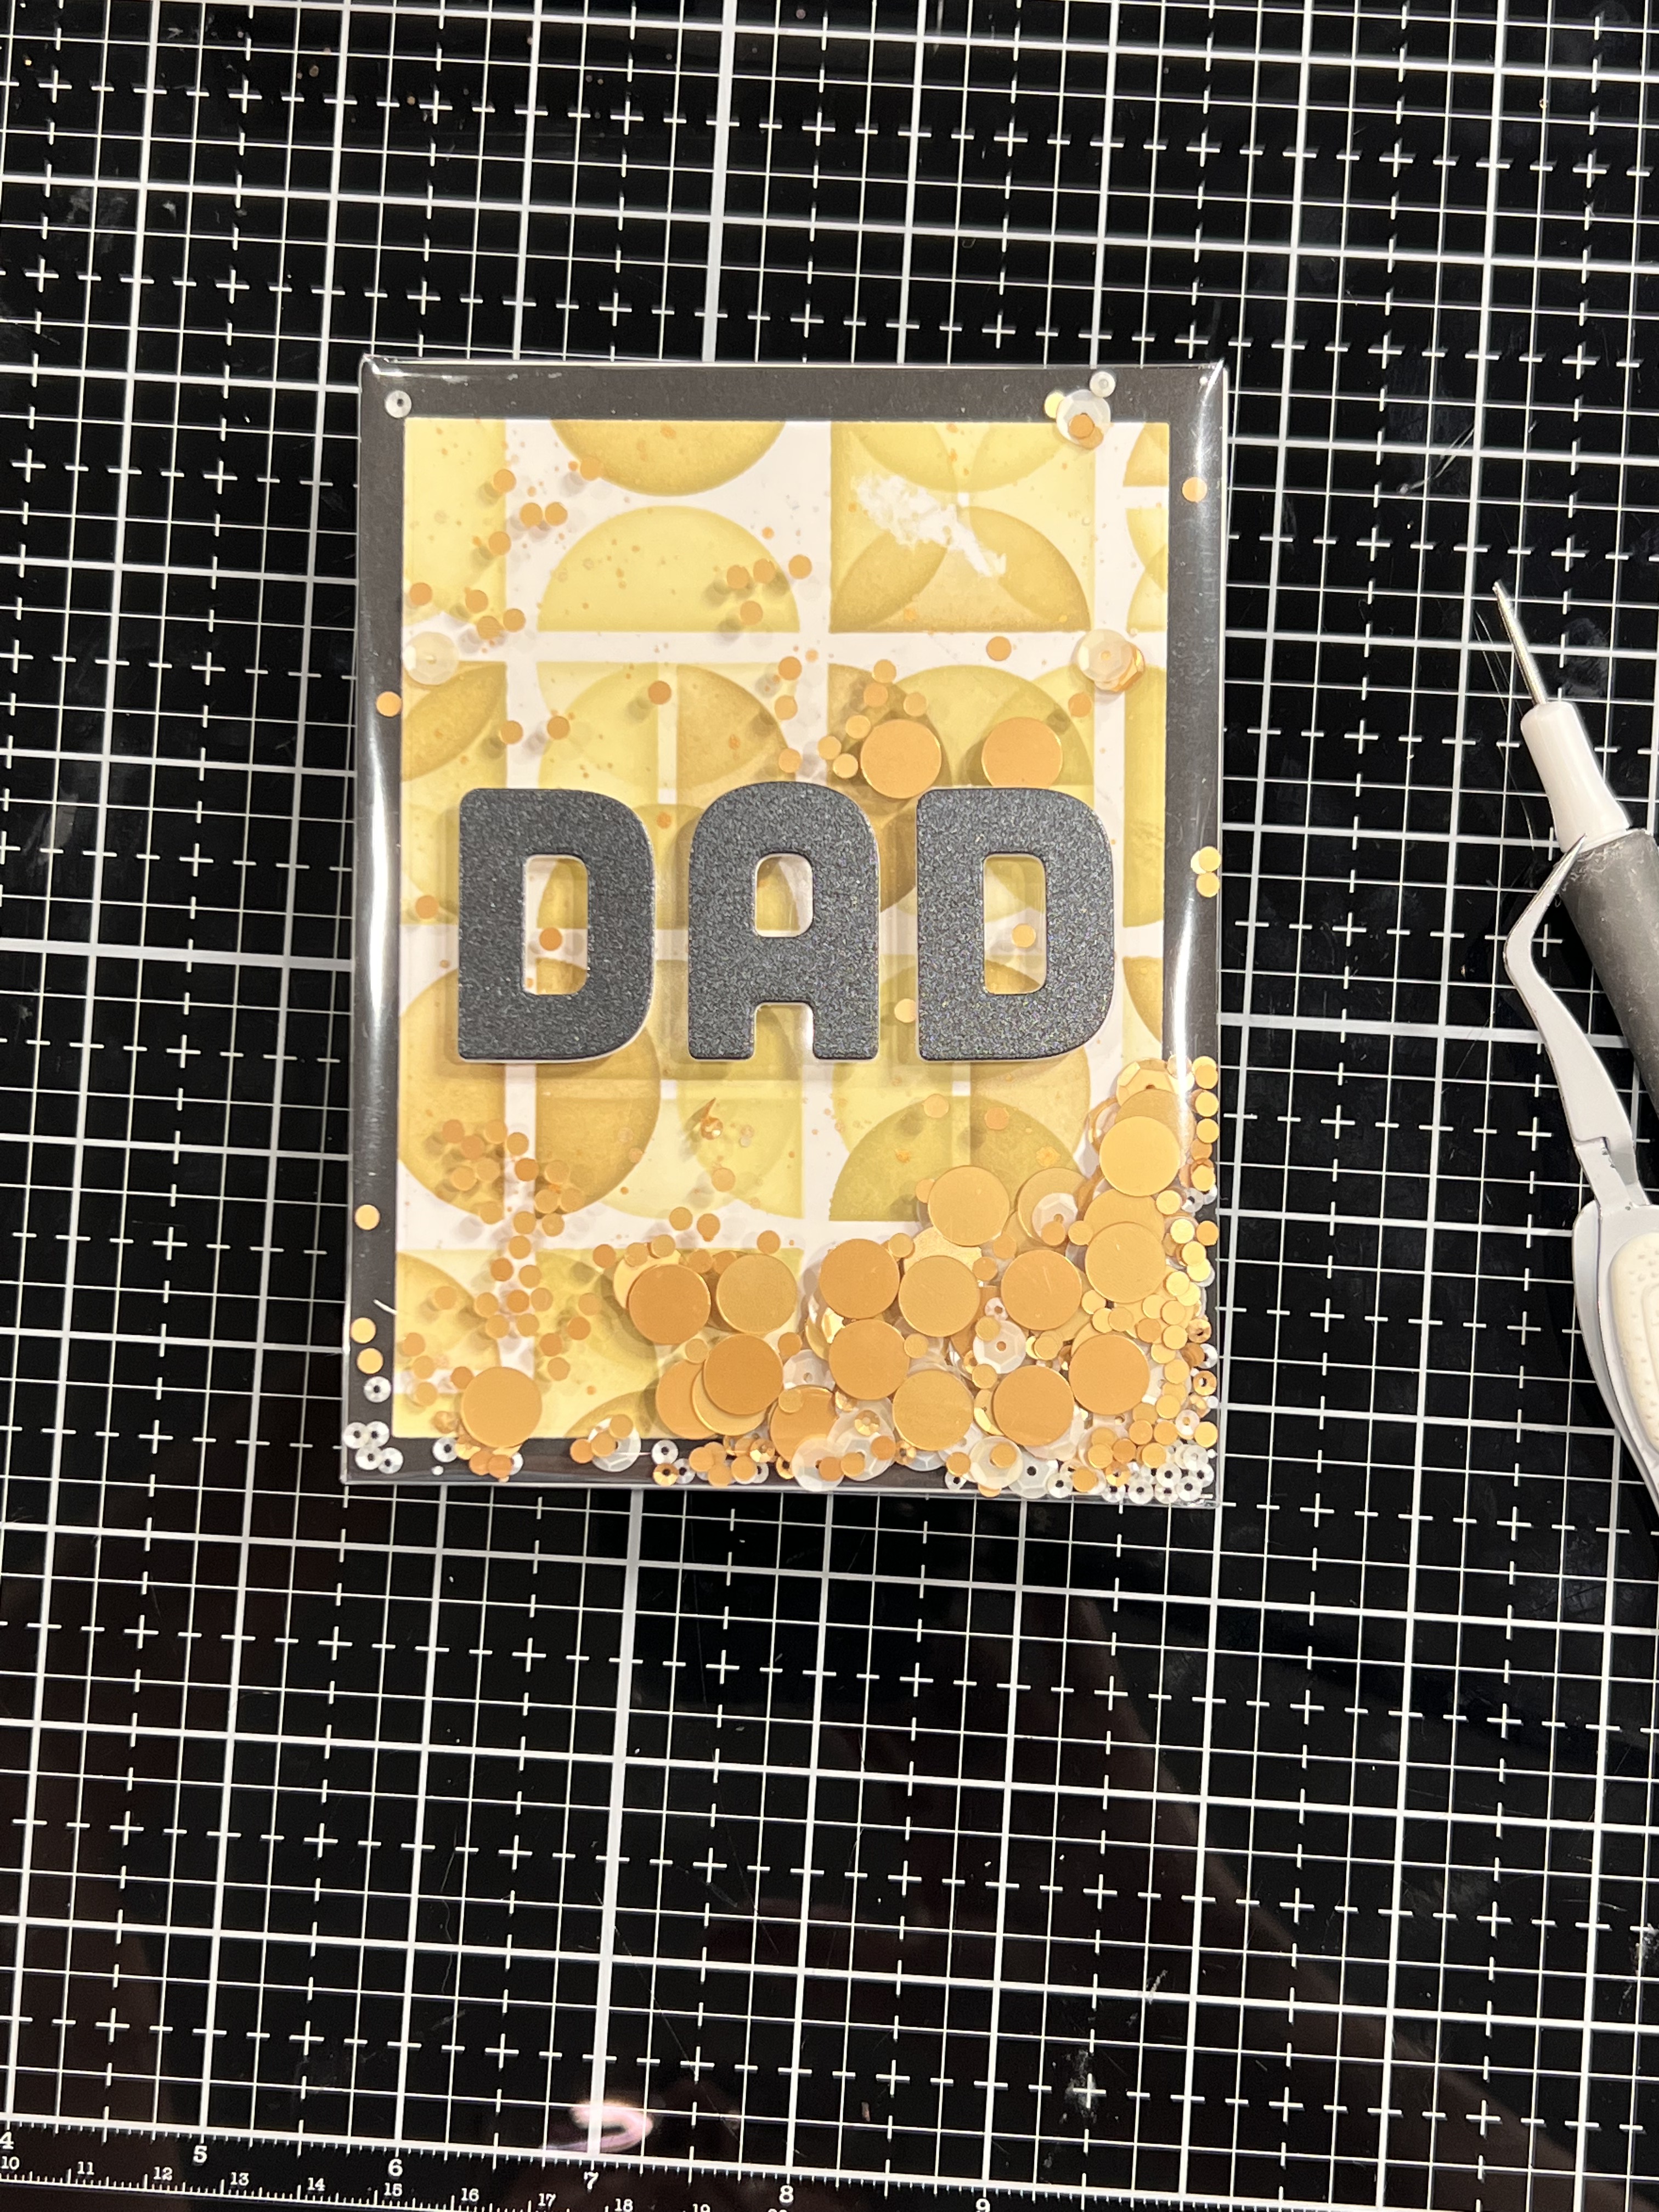
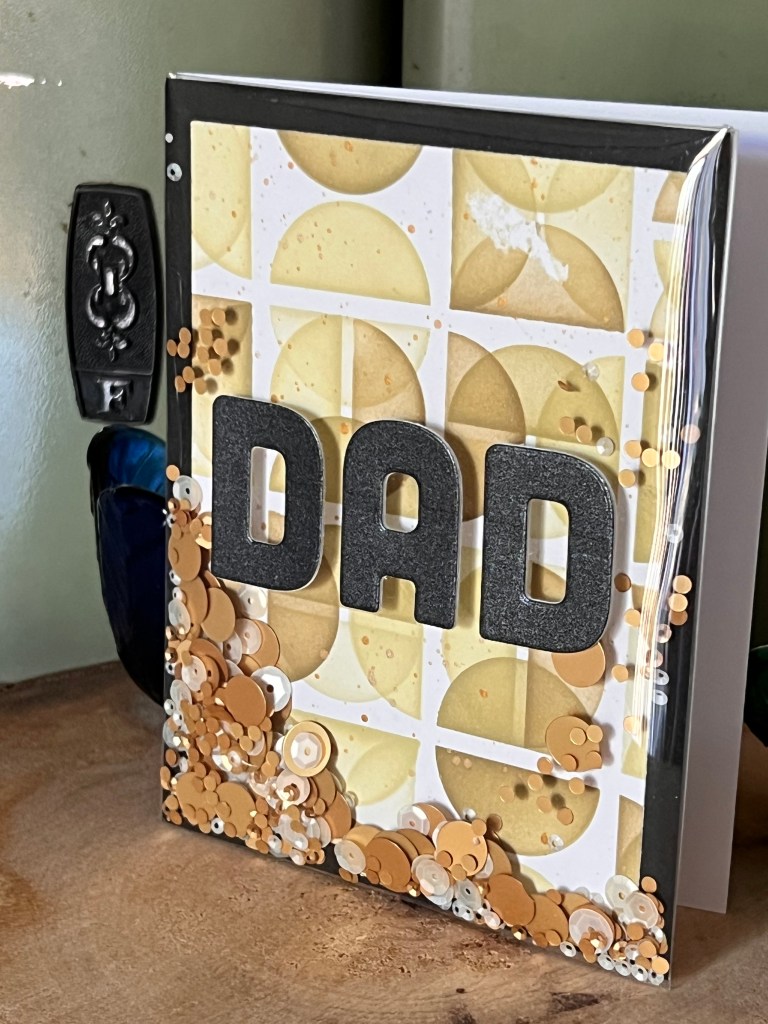
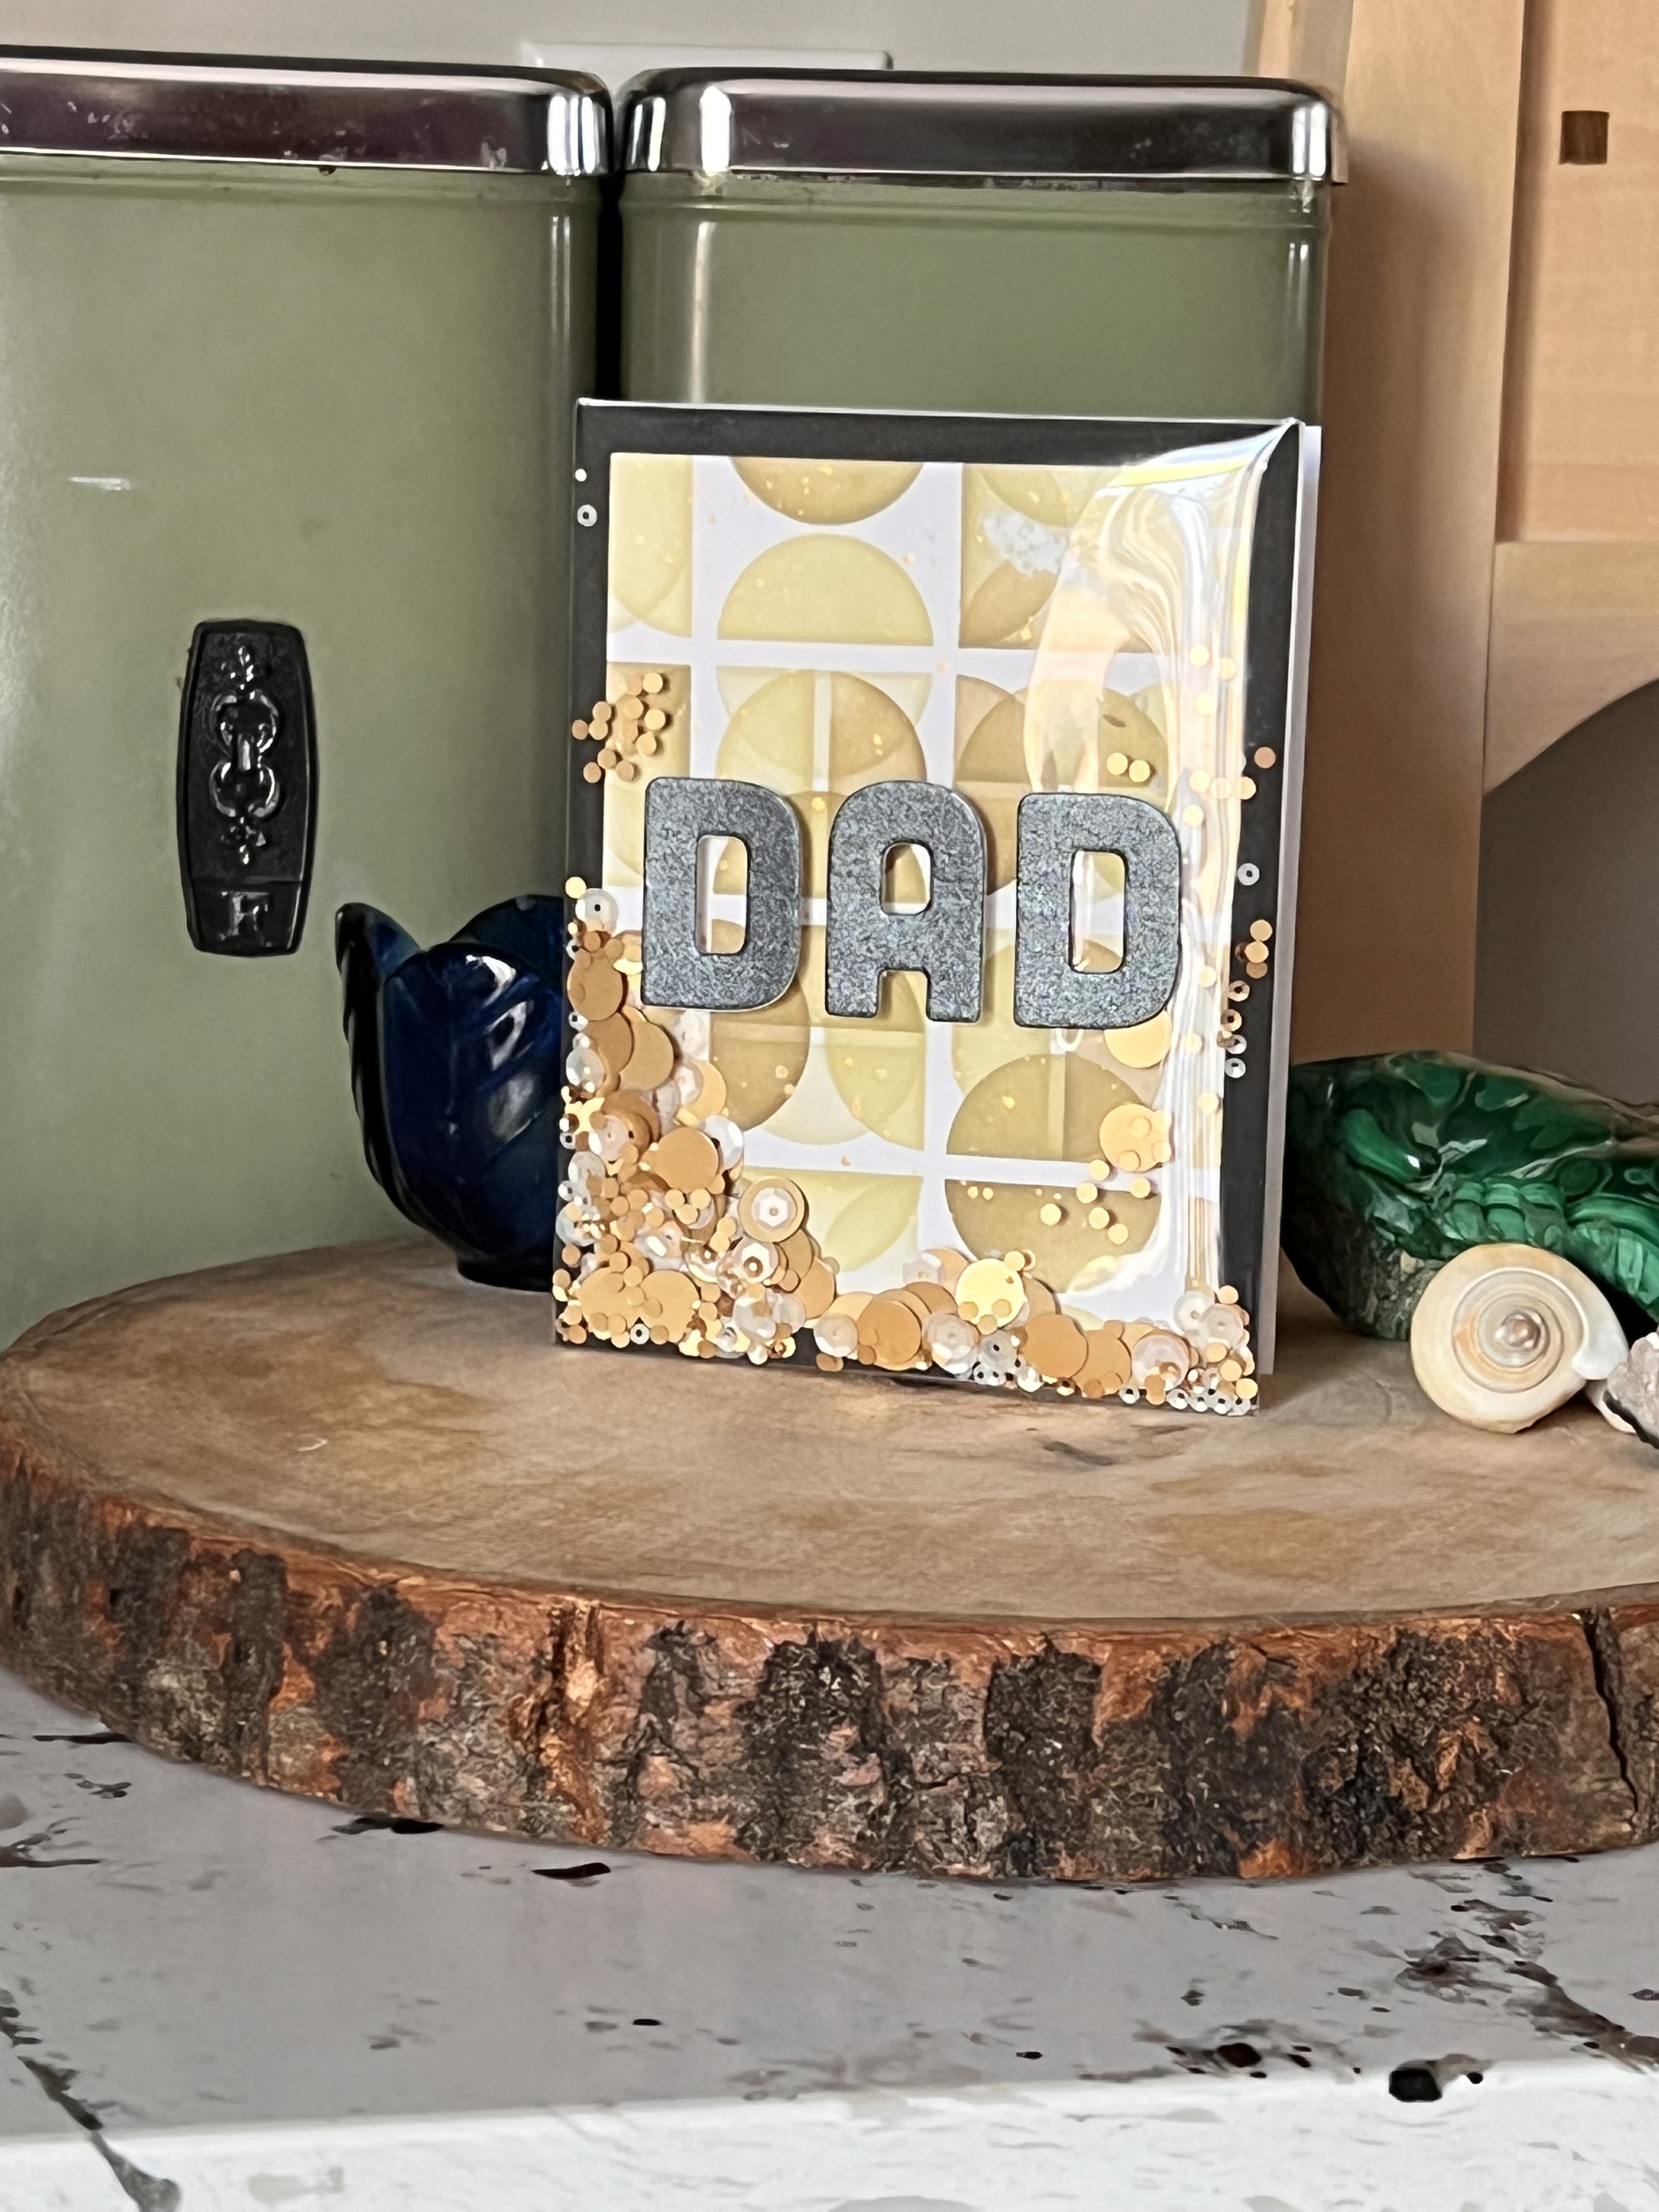
This side folding A2 card started with using the stencil and inks to create a geometric neural background. I like using my Wafflerflower media mat for this because it helps to hold my paper in place and allows me to easily rotate the stencil. Using a family of colours like the Nature’s Wonder set means you know that the end result will be cohesive. Even for a masculine card a little extra gold splatter helps it fit that boutique vibe! I cut the panel to 3 3/4 x 5 inches with a Waffleflower die and put it on a A2 black cardstock panel. Using some heavy weight acetate packaging I created a flat front shaker, sealing 3 sides before adding the bling in shades of gold and white. After it was filled I sealed the top edge and attached it to the card base with some strong double sided tape from Altenew. Once again the Caps Bold die set was used with black shimmer paper for a stand out sentiment that makes an impact. Dimension was added by using layers of scrap cardstock under the black top layer.
Card #4
Supplies For This Card
- Altenew Mini Delight: Pretty City
- Altenew Let’s Go Stamp Set
- Simon Says Stamp Sand and Surf Stencil
- Altenew Detailed Blending Brushes
- Altenew inks
- Sand Dunes
- Sea Glass
- Turquoise
- Sea Breeze
- Ocean Waves
- Citrus Burst
- Jet Black
- Hero Arts Prisma Glitter
- Hero Arts White Satin Pearl Embossing Powder
- Waffleflower A2 Layering dies
- Waffleflower Additional A2 Layering dies
- Waffleflower mini Media Mat
- Accent Opaque 100lb Cardstock
- Neenah Solar White Classic Crest 80lb
- Altenew Instant Dimension Foam Tape
- Art Glitter Glue liquid adhesive
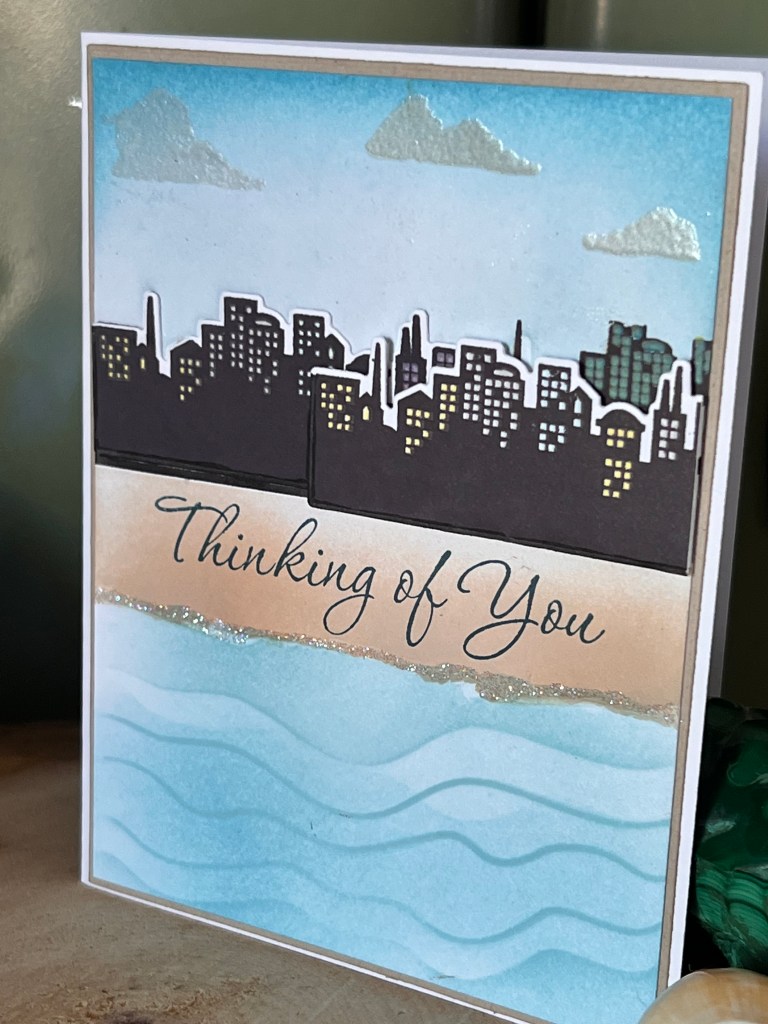
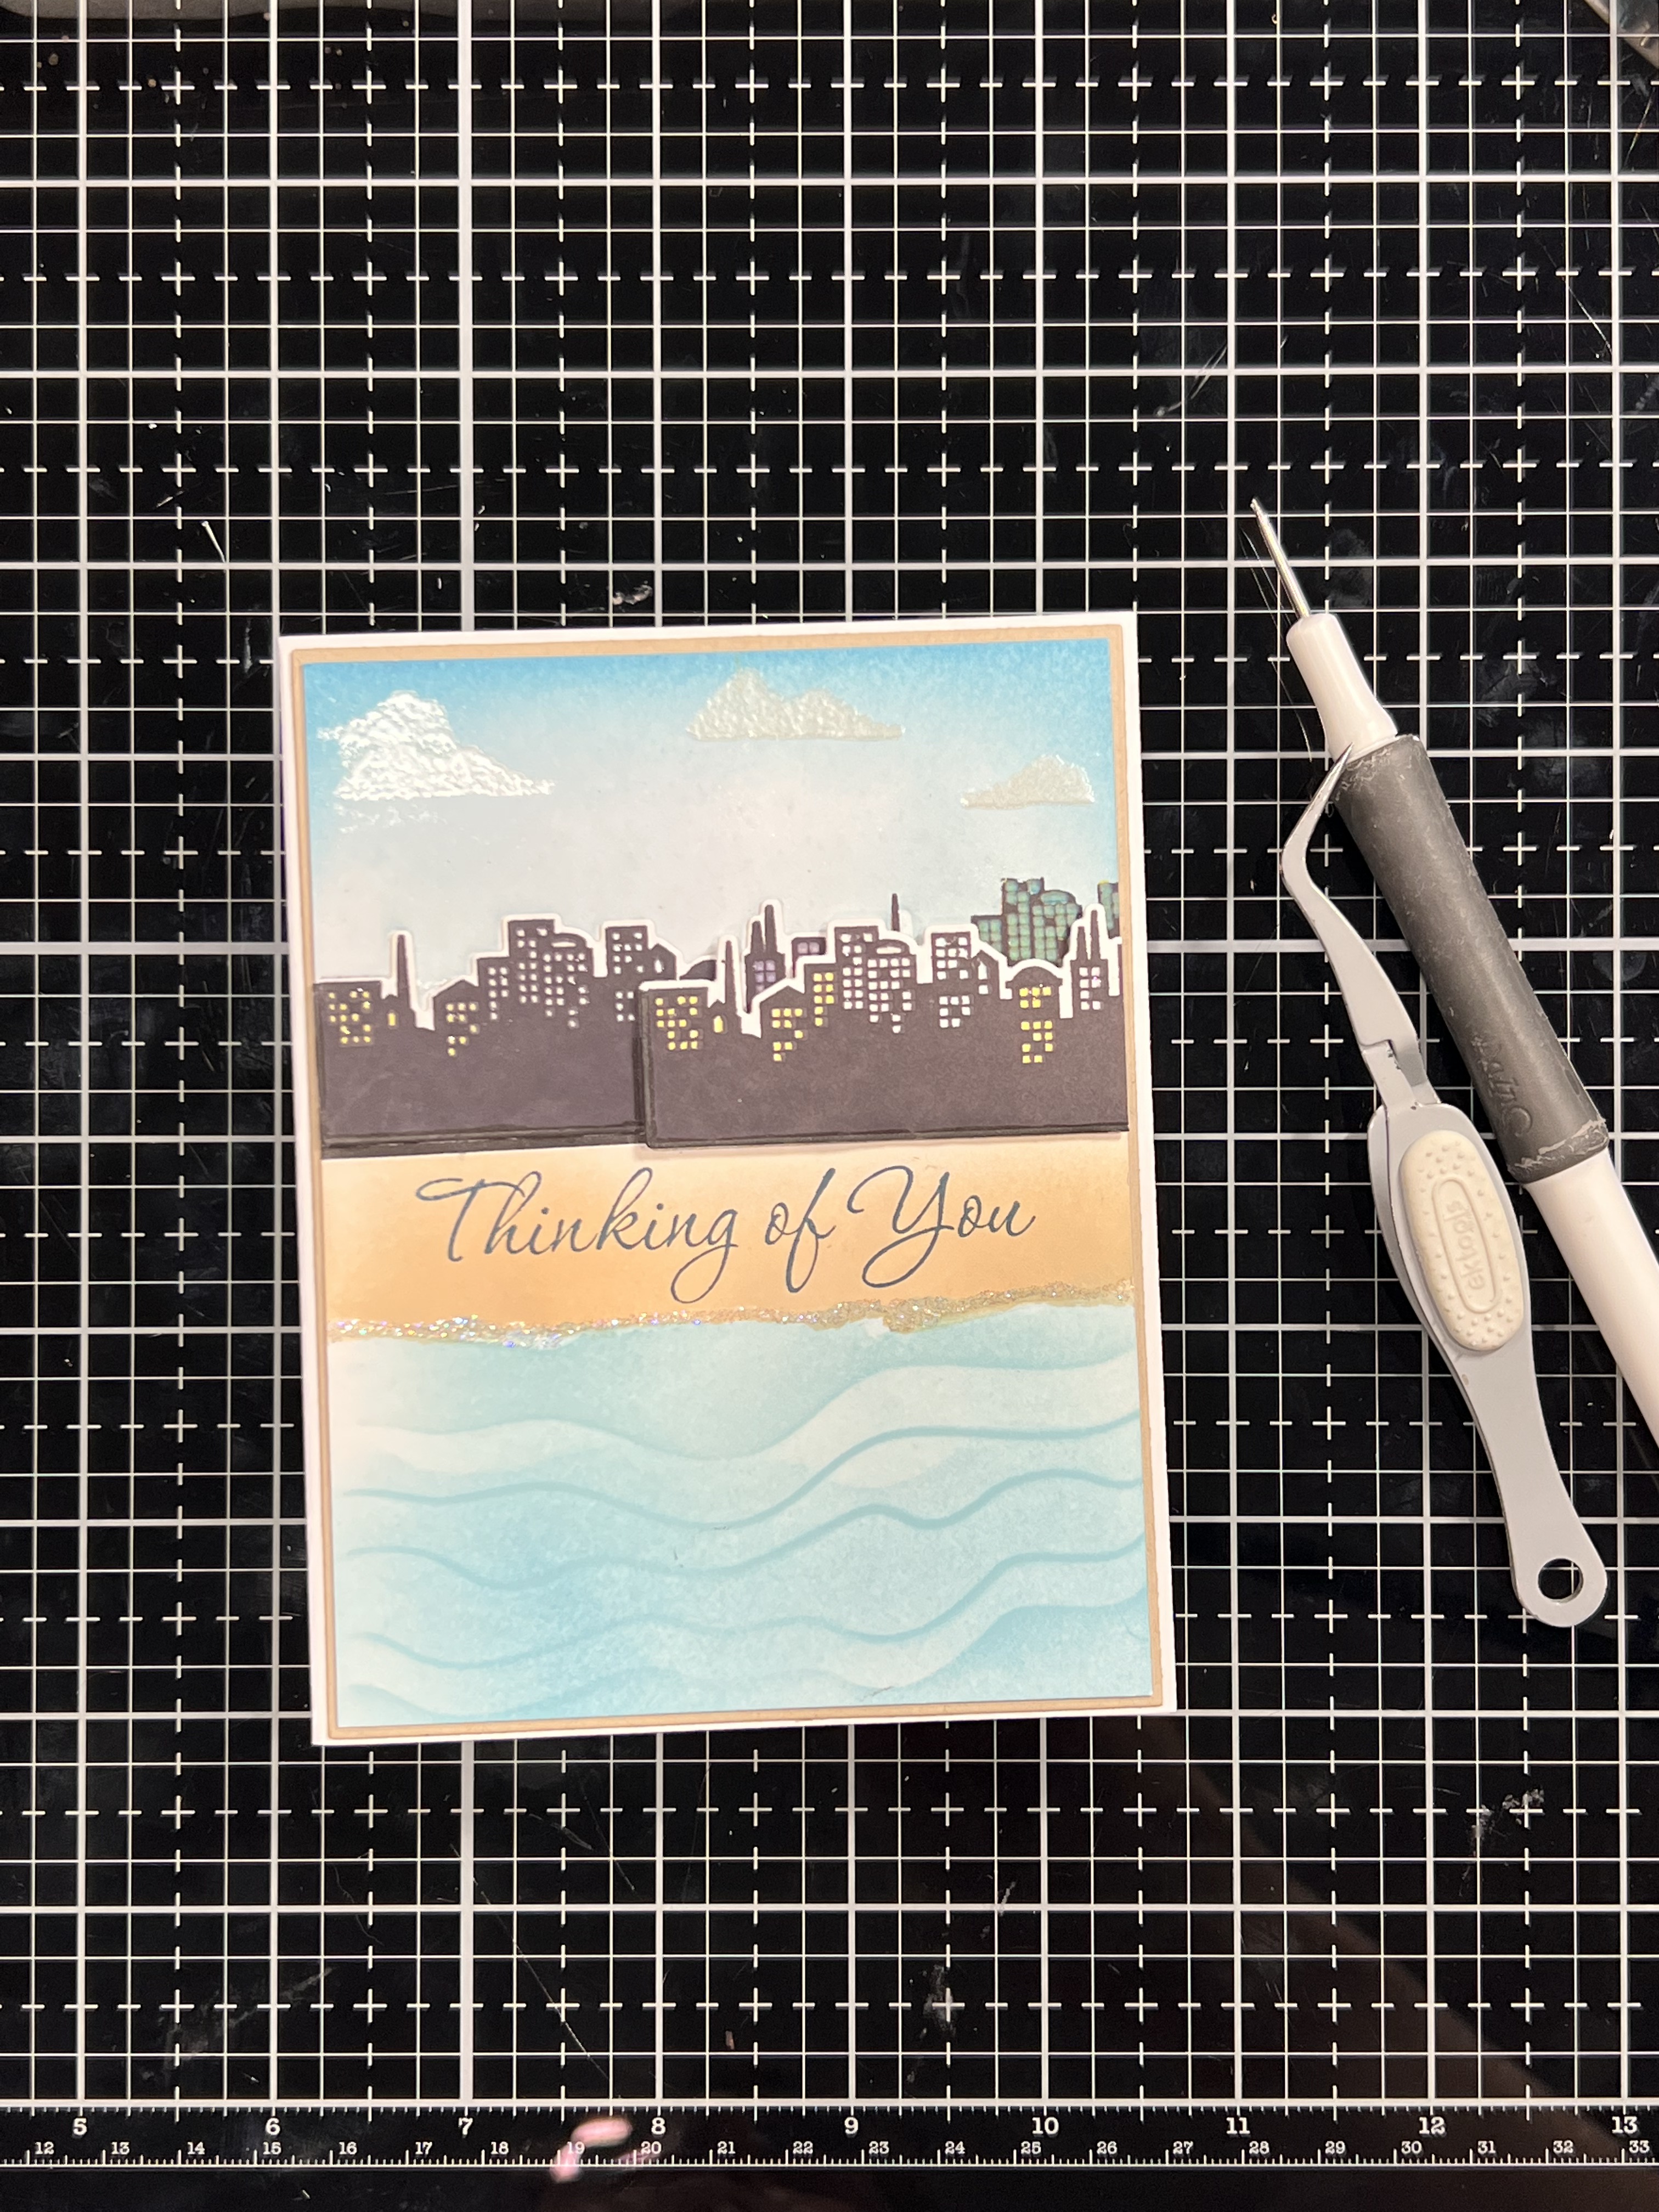
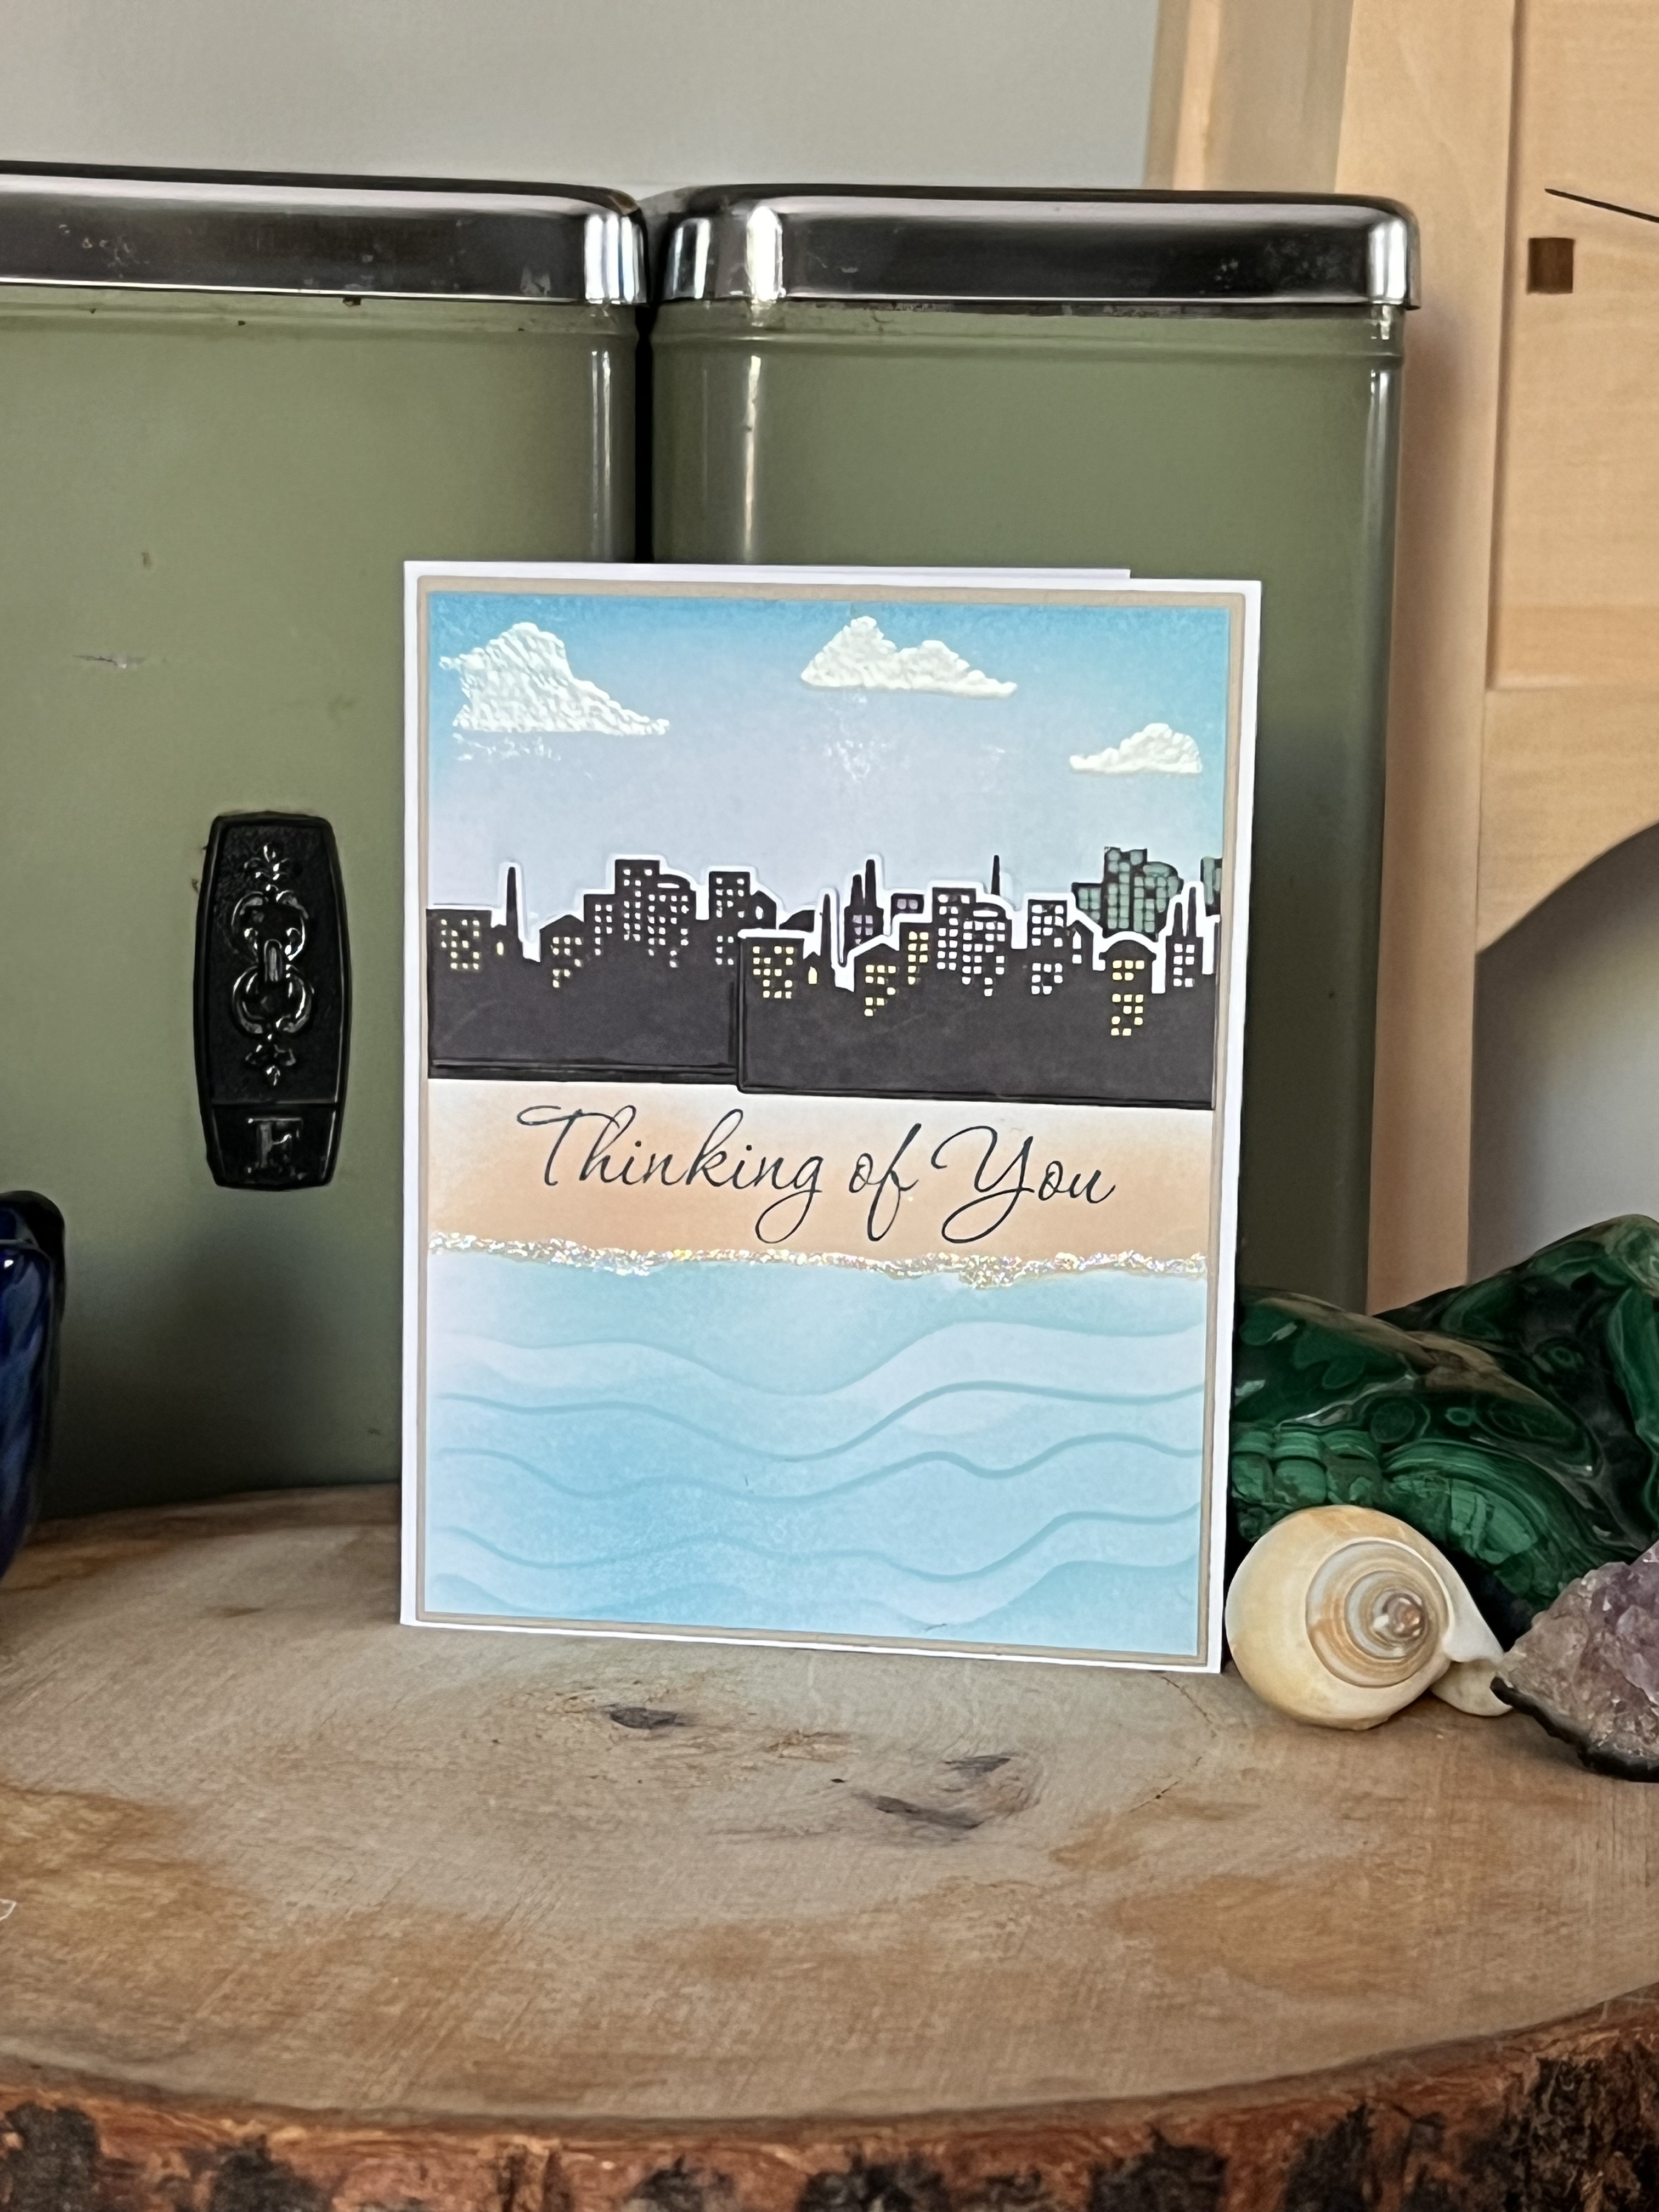
For this A2 side fold card I masked off the middle strip and ink blended the sky with Sea Gland & Turquoise. The water was done with the Sand and Surf Stencil in shades of Sea Breeze and Ocean Waves. I masked off either side of the middle then blending with Sand Dunes with a fade out at the top edge. I stamped the Pretty City die with Jet Black on the card base as well as extra scraps of Neenah so I could add layers on the finished piece. I trimmed that panel with the 5 1/4 x 4 inch Wafflerflow die and cut the mat Neenah Desert Storm panel with the 5 3/8 x 4 1/8 inch die from the Additonal Layering set. The Thinking of You stamp from my stash stamped in Jet Black and the waterline is made with some liquid adhesive and Hero Arts Prisma Glitter. Once all that was dried I layer the extra city pieces and mounted it to an Accent Opaque A2 card base.
Card #5
Supplies For This Card
- Altenew Let’s Go Bundle
- Altenew Grid Cover Die
- Altenew Blending Brushes
- Altenew Inks
- Misti Stamping Platform
- Accent Opaque 100lb Cardstock
- Neenah Solar White Classic Crest 80lb
- Neenah Desert Storm 100lb
- Sizzix Big Shot
- Altenew Instant Dimension Foam Tape
- Art Glitter Glue liquid adhesive

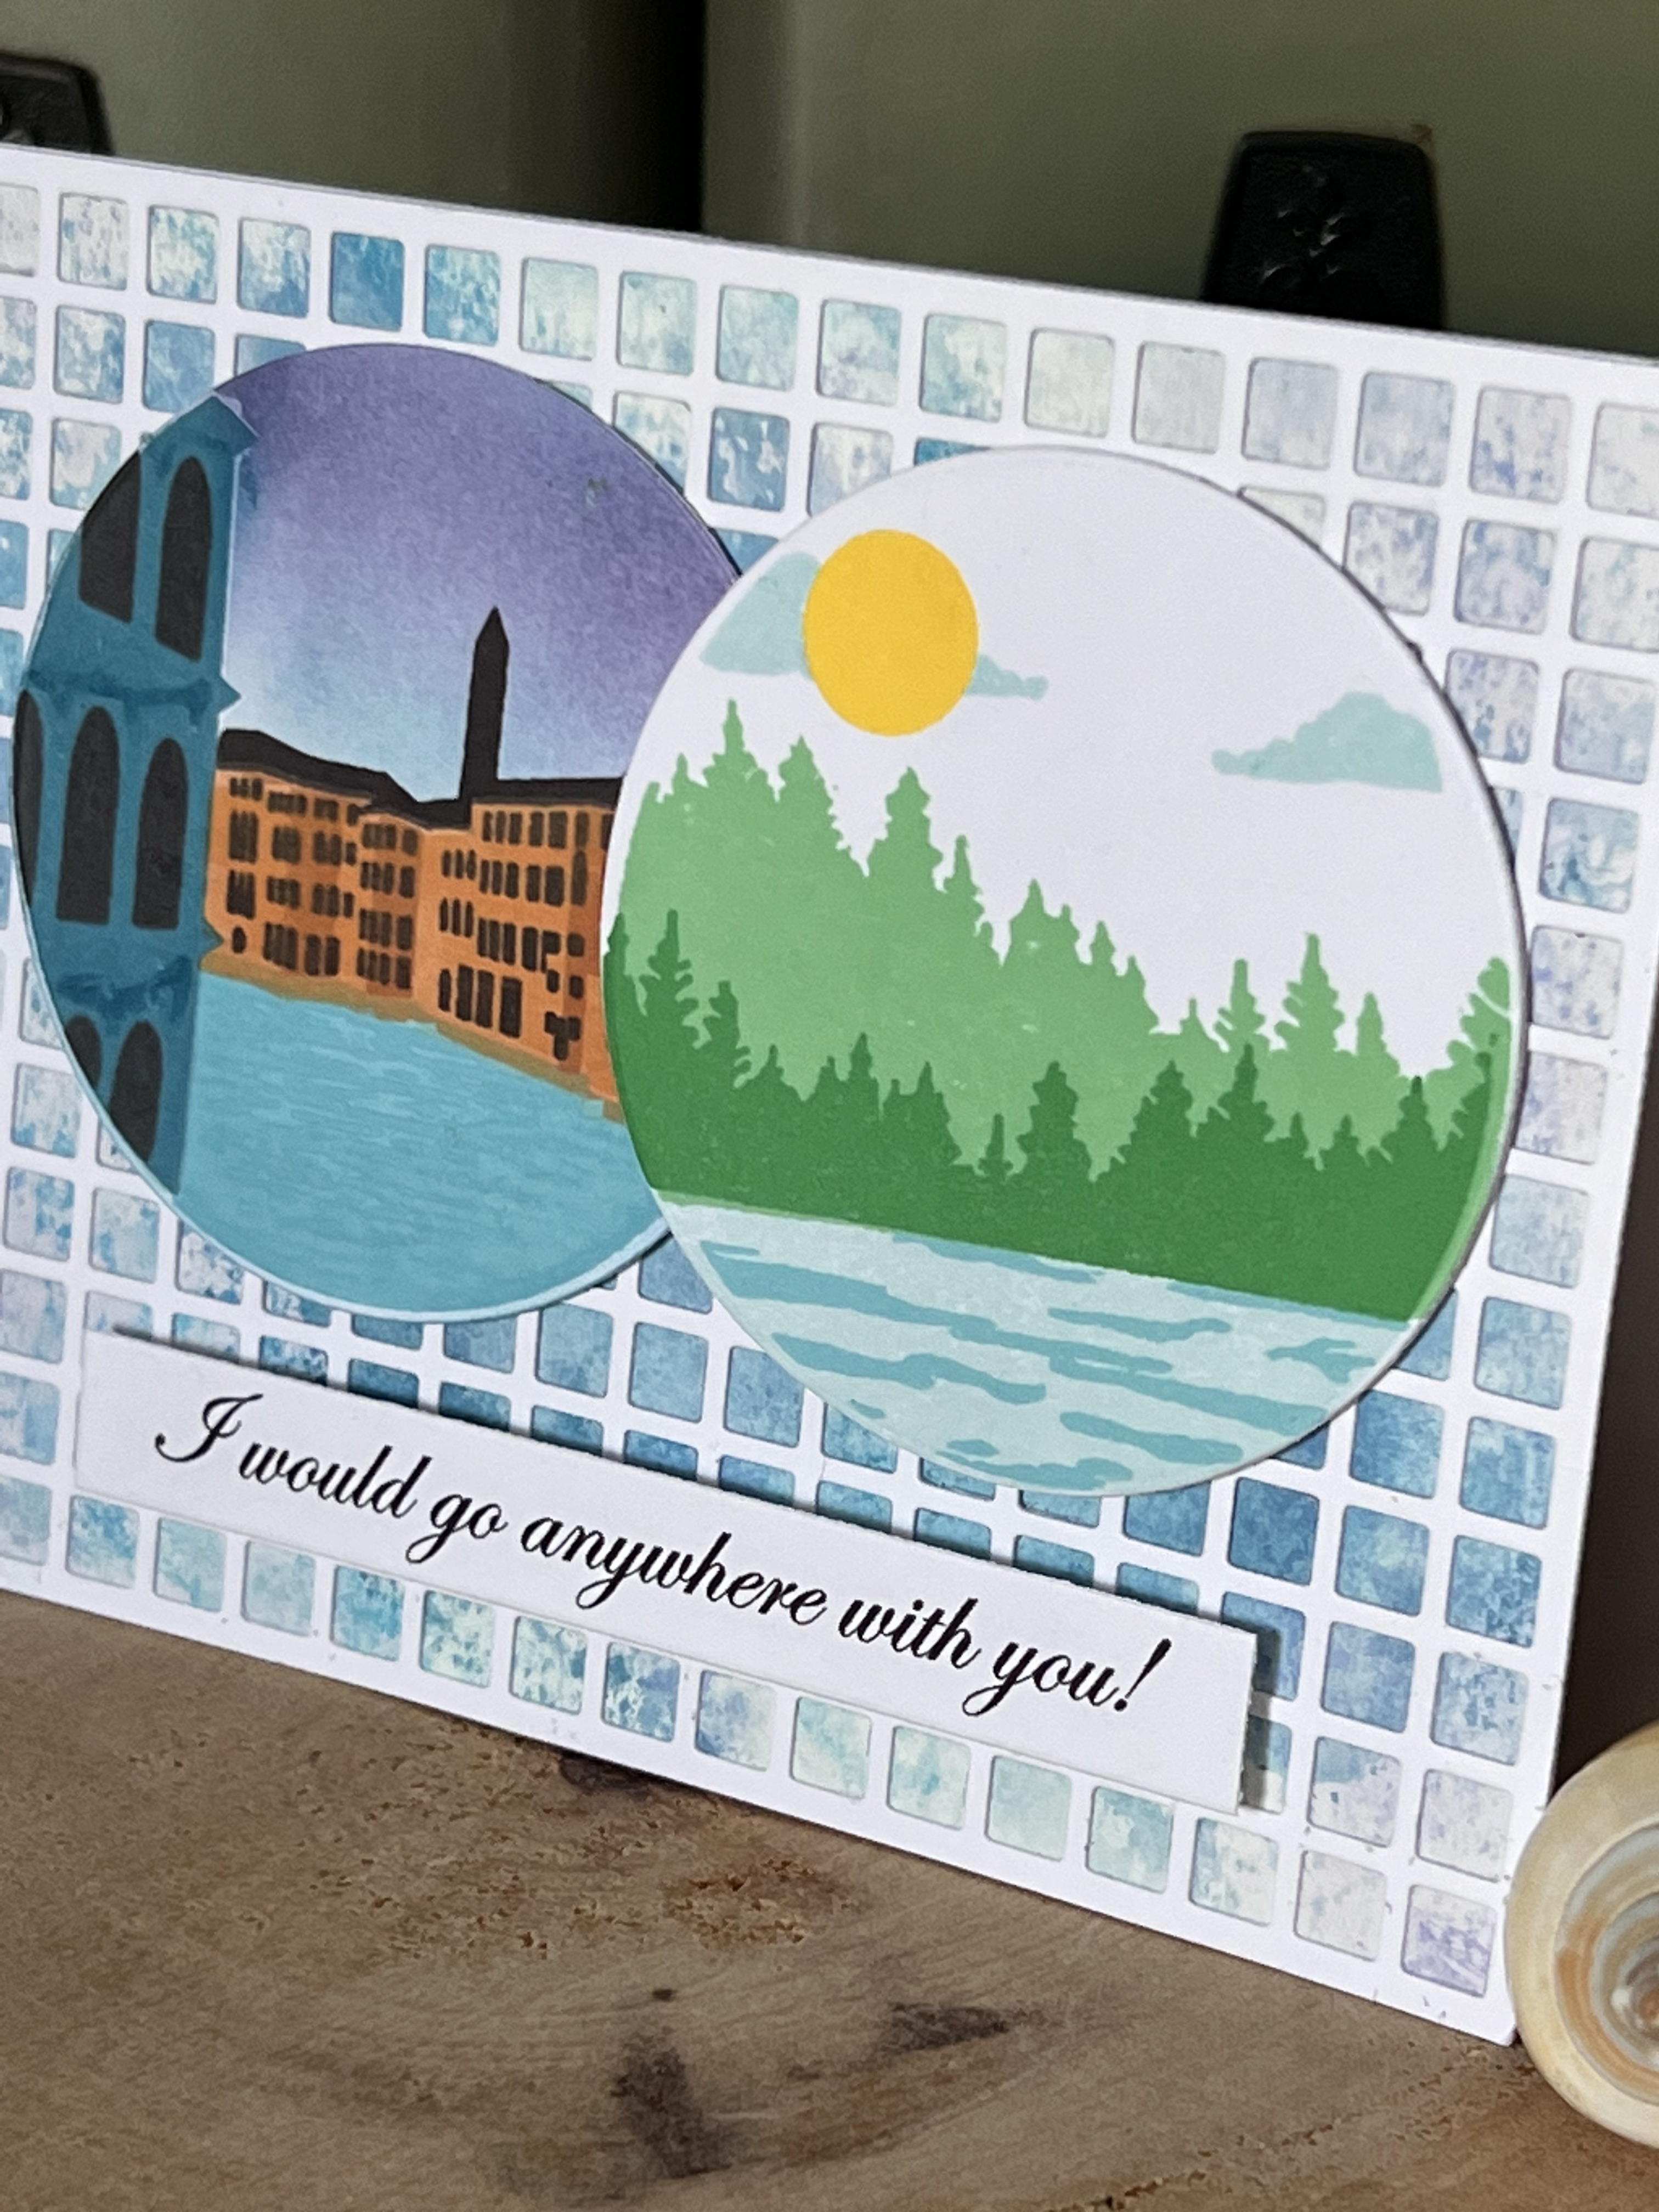
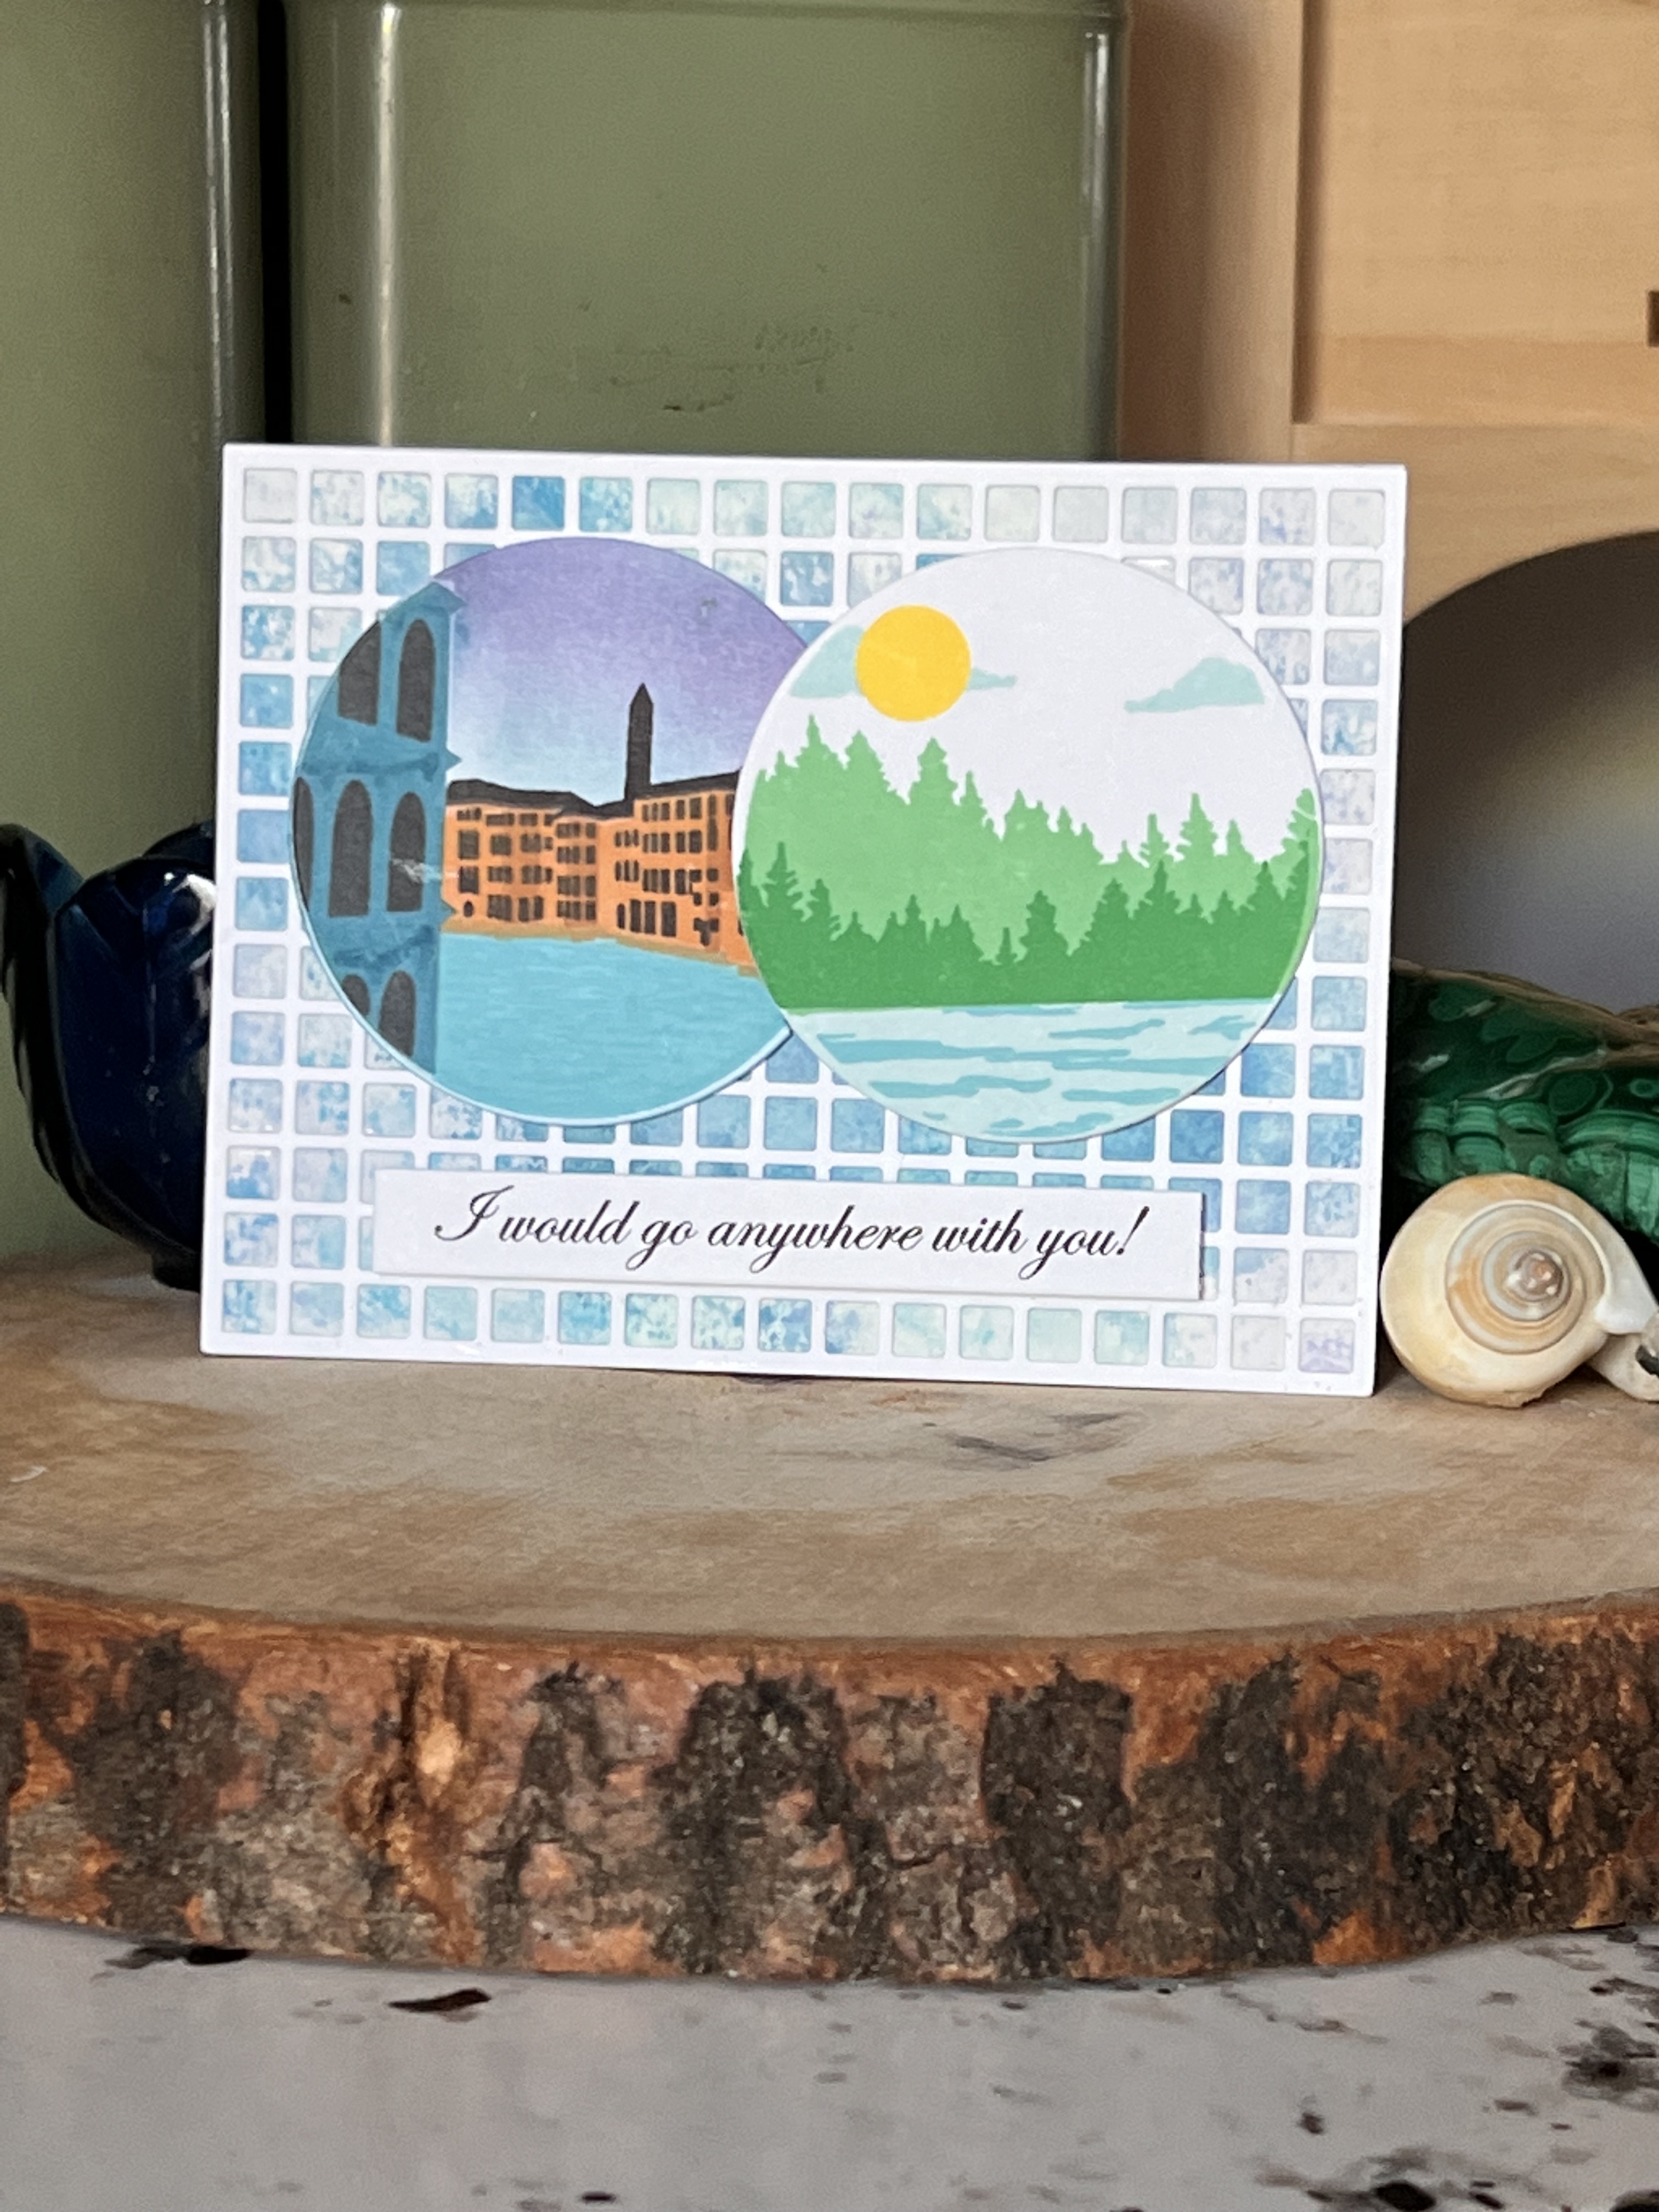
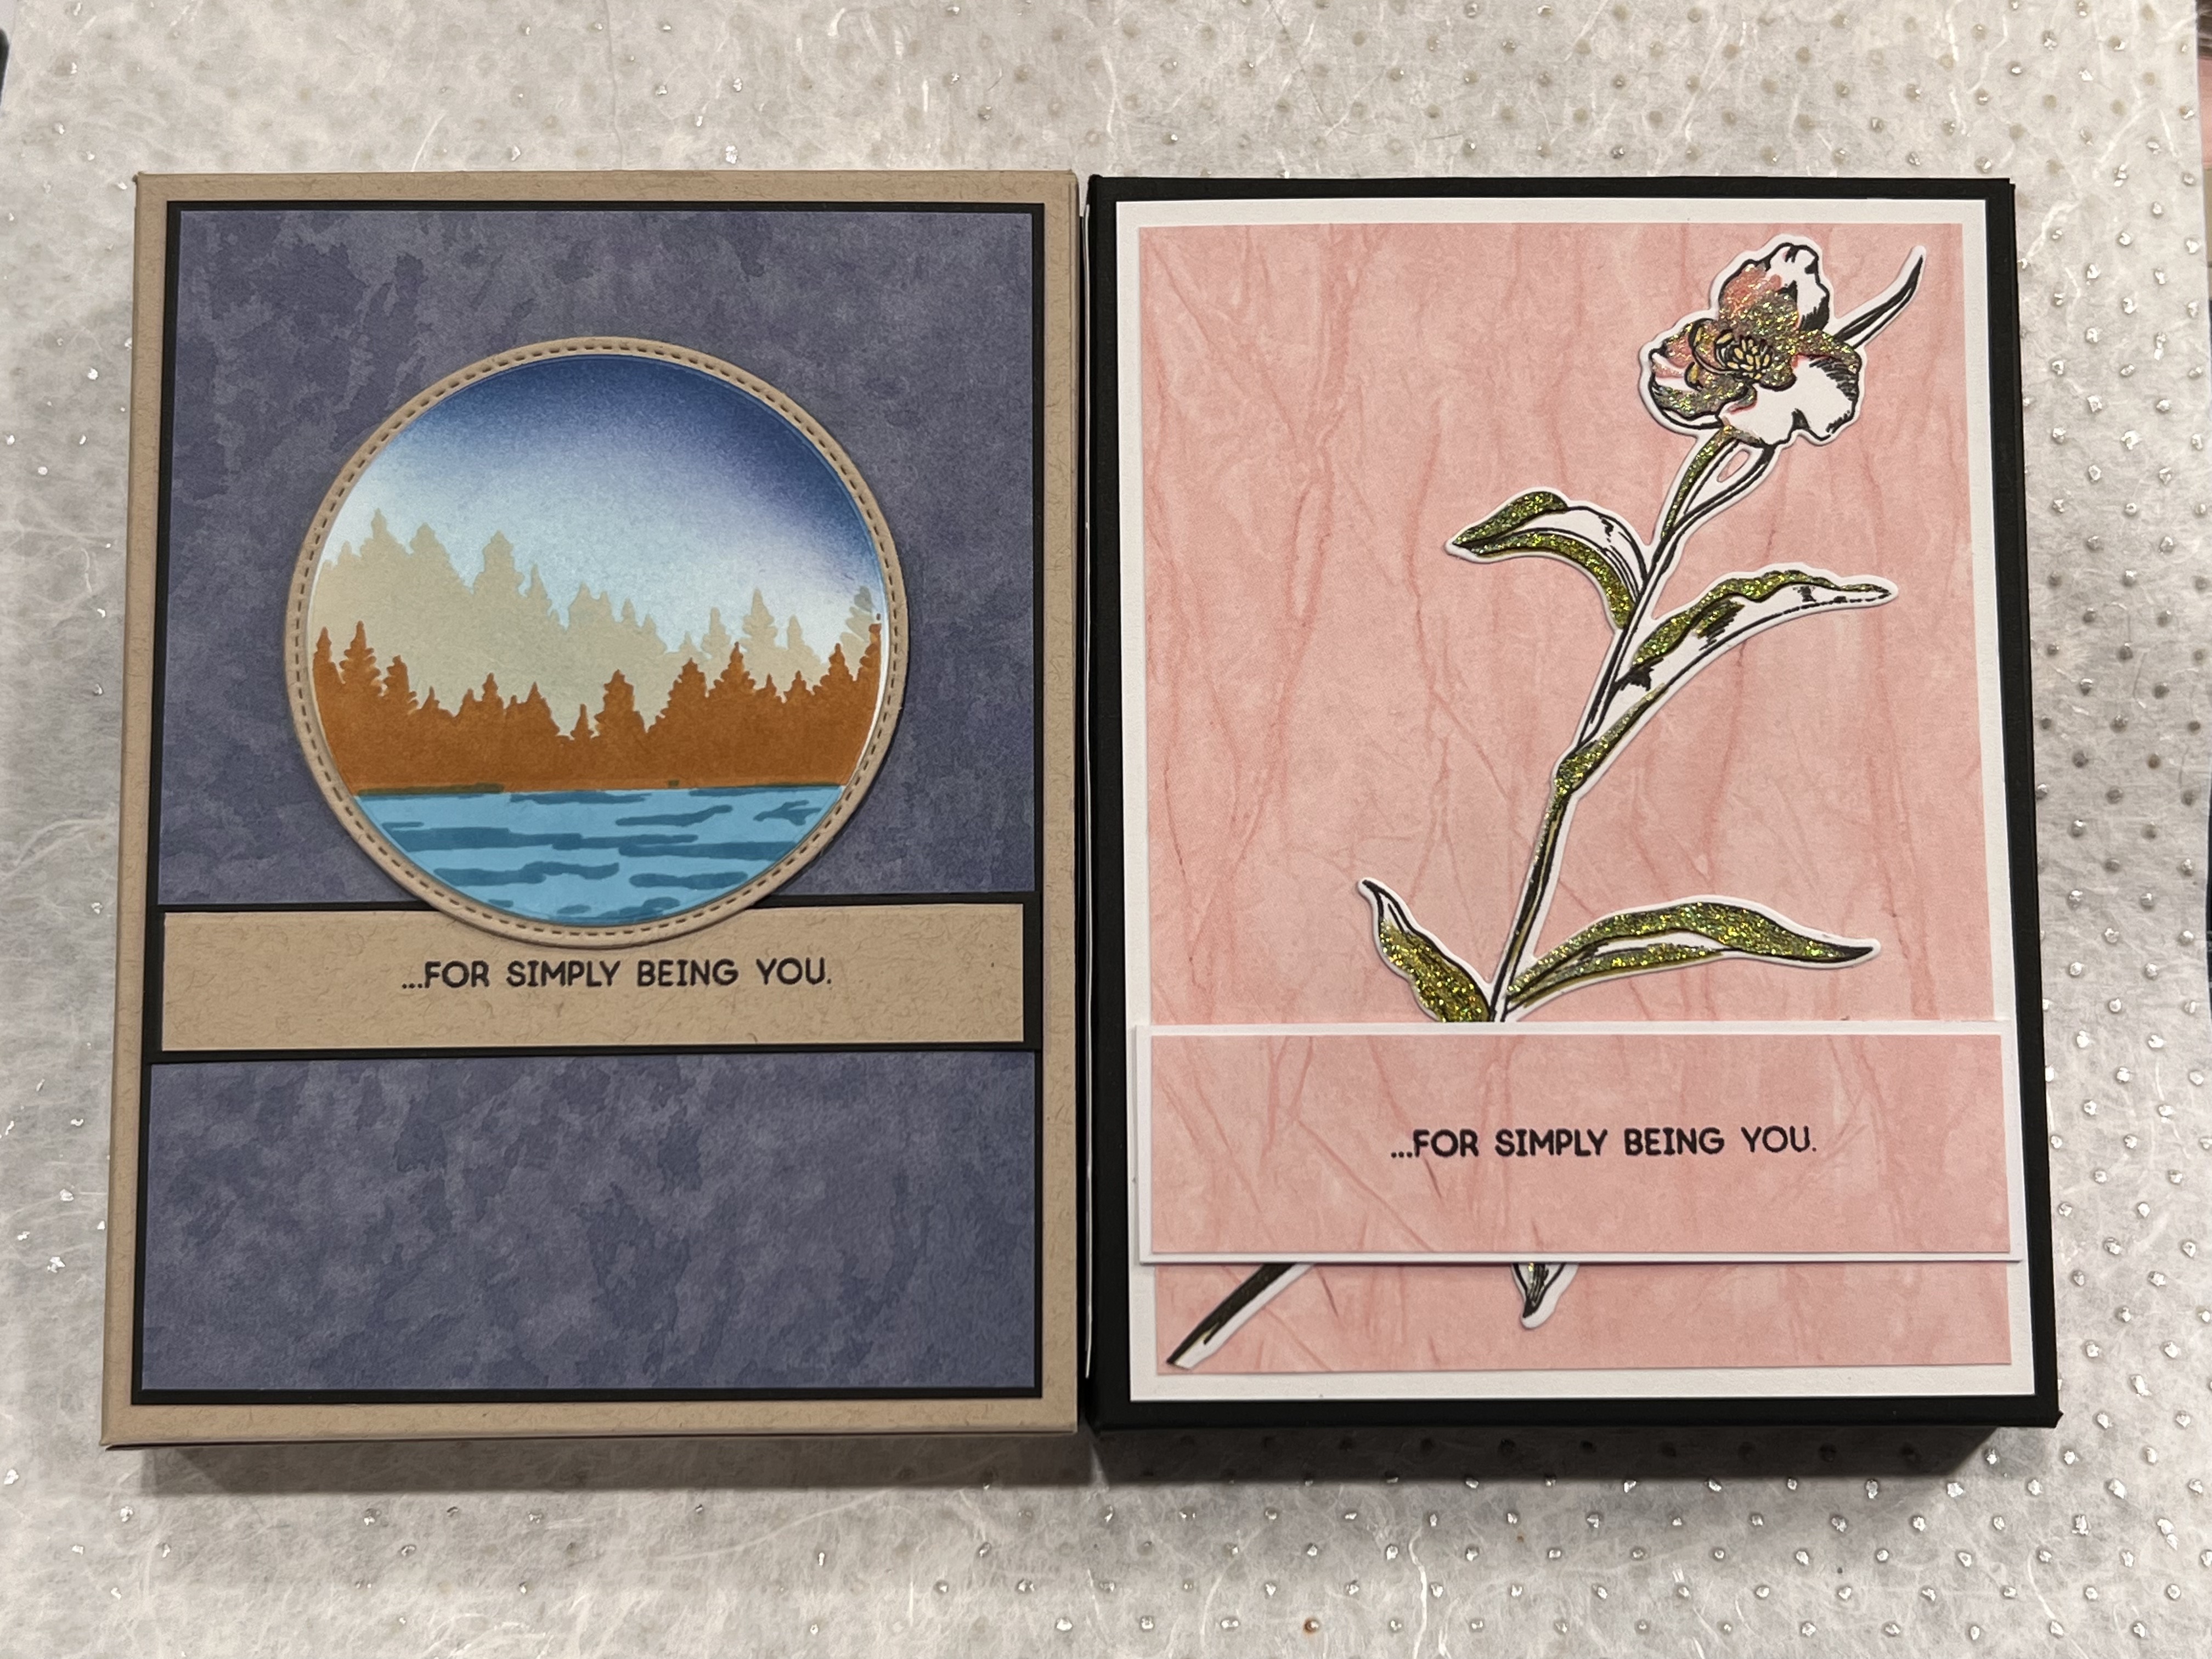
For this landscape style top fold card I smooshed several of the ink colours in blues and the purple onto my glass mat, spritzed a bit of water on them and picked up the colour with a 5 1/2″ x 4 1/4″ piece of Neenah 80lb. It’s not a watercolour paper but for this tiny bit of water it works just fine. I cut another panel of Neenah with the cover die and layered it over the dried background panel. I printed the sentiment from my computer onto part of the Neenah scraps and added dimensional tape to pop it up. The Let’s Go stamp set is really fun to layer and I like the idea of showing the range of it on one card. Once I was happy with the placement and everything was adhered down I added it to the card base.
This may have been my most challenging card of these sets. I was just playing with the Let’s Go set and thought about how cool it is that it can make such different looks from one set. From there my brain wandered into the whole justapositon of city and county and made me think my other half and how I’d be happy anywhere as long as we have each other. So this card is really for him in that sense.
The Gift Box
Gift Box Supplies
- Altenew Let’s Go Bundle
- Altenew Inside and Out: Thanks stamp set
- Altenew inks
- Jet Black
- Paper Bag
- Caramel Toffee
- Sea Glass & Turquoise
- Dusk & Desert Night
- Andromeda
- Recollections Black 110 lb cardstock
- Creative Memories DSP
- Neenah Desert Storm 80lb
- ScorePal
- Double Sided Adhesive Tape 1/8”


- I tried a few other box ideas with recycled materials but I just wasn’t happy with the clunky feel of what I came up with. So like any sensible crafter off to YouTube I went! I’m so glad I found this amazing Gina K video because I knew I’d be able to follow her directions and make something iI would be happy with. Here is the link https://youtu.be/bLY19gWt5Gs to her video. I made a few small adjustments to my notes as I did try a couple of practice pieces first. I used one of the Tall Foliage stamped and die cut pieces for the front of the box to tie the theme together. I stamped a sentiment from the Inside and Out : Thanks on the patterned paper and matted it on the Neenah Desert Storm cardstock. The measurements for this part really are whatever works for your sentiment and final look you want to achieve.
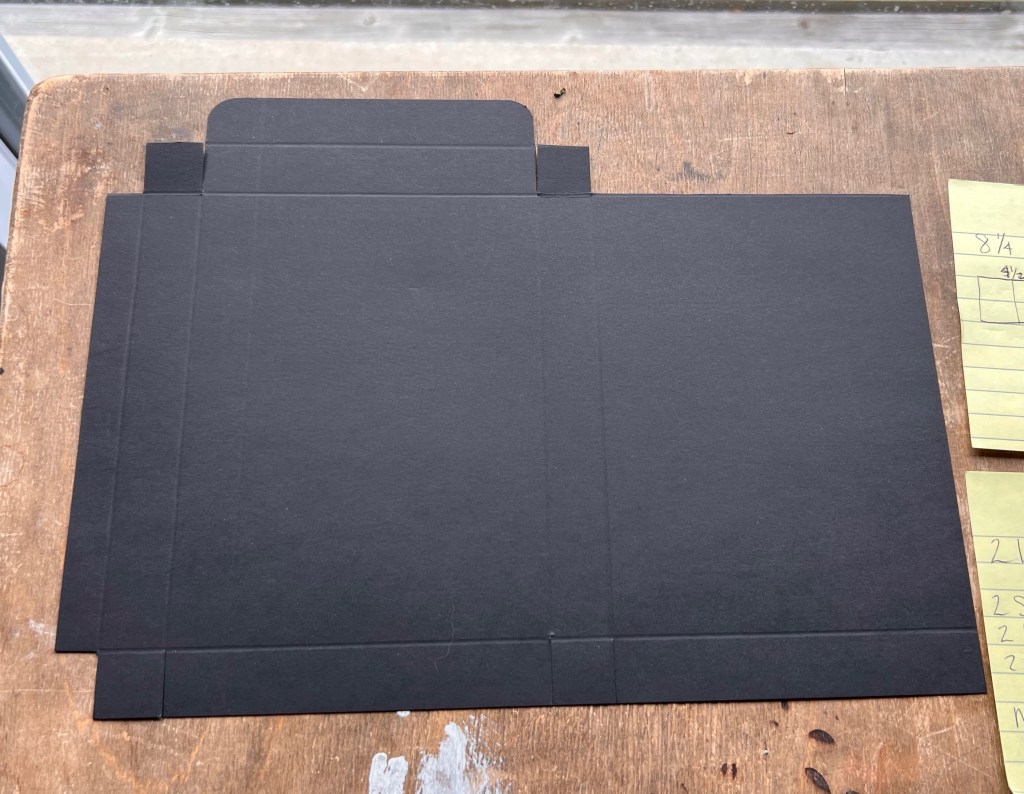
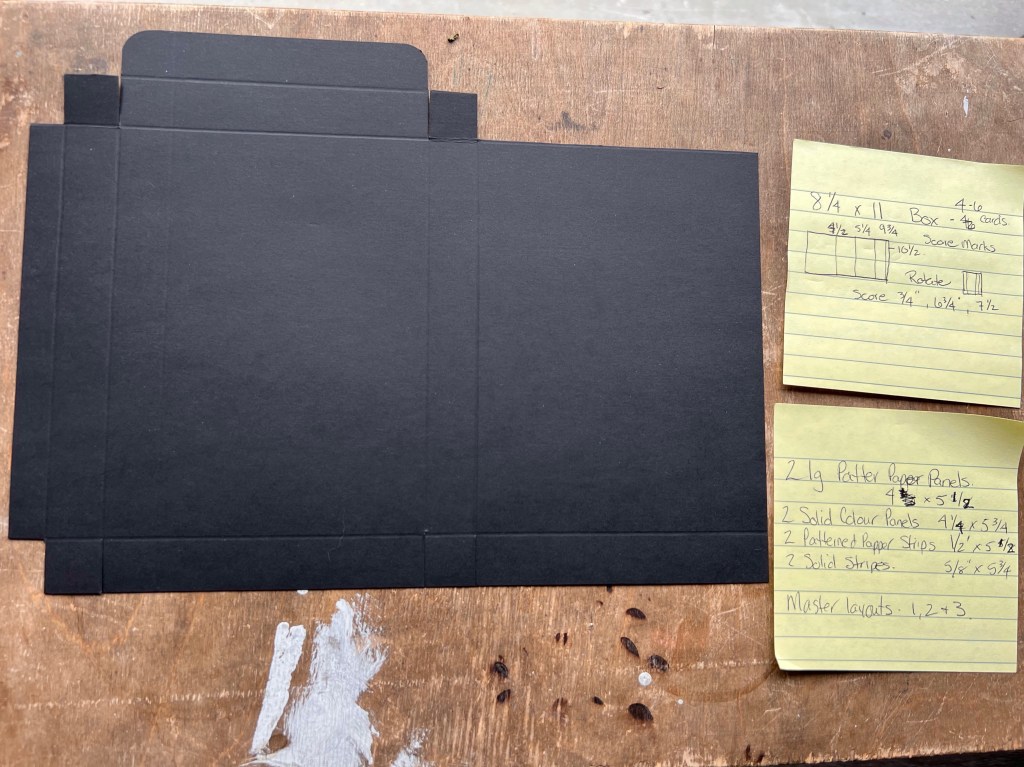
- A sturdy piece of 8 1/2 x 11 cardstock in your choice of colour
- Two – 4” x 5 1/2” Patterned Paper Panels
- Two – 1/2” x 5 1/2” Patterned Paper Strips
- Two – 4 1/4” x 5 3/4” Solid Colour Panels
- Two – 5/8” x 5 3/4” Solid Colour Strips
- Cut your sturdy cardstock to 8 1/4” x 11”. First score along the following numbers on the long side. 4 1/2”, 5 1/4”. 9 3/4” & 10 1/2”. Rotate the paper to the short side and score at 3/4”, 6 3/4” & 7 1/2”
- For the rest of the directions I highly recommend following the link to Gina’s video. I found that a visual guide is much easier to follow for the cutting part of this project!! I like to use a 1//8” double sided tape for putting the boxes together, tho it can be done with what ever adhesive you are most comfortable with.

These cards are really cool!! You made a great card set. Your final challenge card sets look amazing. Fabulous job on your final challenge for Level 1!! Well done!
LikeLiked by 1 person
I’m so glad you like my project! I am excited for Level 2!
LikeLike